Monday, December 19, 2022

Cranberry Coffeecake for Coffeetime

Fellowship Hour after church service is a special time at our church. Most of the congregation stay and discussions include concern for health of those ill, upcoming community activities, and grandkids' school events as well as church business. Several of us belong to the same organizations besides our church so it can become confusing just which meeting we're discussing! 


We take turns with hosting this coffee time and this week it was my turn. So that is an opportunity to try some new holiday related recipes and bring out some older favorites. This time I tried this Cranberry Orange Bundt Cake and turned it into a sheet pan cake to have bars that would be easier to serve a group. I also did an easy bite sized treat with crescent rolls and cherry pie filling, feta/cranberry roll ups in flour tortillas, and our family's favorite cheese type dip Vegetable Mousse (blog of Dec. 6, 2011). 

Here's the recipe for the Cranberry Orange cake with my changes: 

CRANBERRY ORANGE CAKE

 
Ingredients:

3 cups all-purpose flour

2 ½ teaspoons baking powder

1 ½ teaspoons salt

1 ½ cups (3 sticks) unsalted butter

1 cup packed brown sugar

½ cup granulated sugar

Zest from 1 orange

5 large eggs, at room temperature

½ cup sour cream, at room temperature

2 teaspoons vanilla extract

½ cup milk, at room temperature

⅓ cup orange juice

1 ¾ cup fresh or frozen cranberries (if frozen do not thaw)


Filling:

¾ cup brown sugar

2 teaspoons ground cinnamon

½ cup chopped pecans (I added to original recipe)


Glaze: 

1 ½ cups confectioners’ sugar

3-4 tablespoons orange juice


Instructions: 

Preheat oven to 350 ° and grease 10-inch Bundt pan. I changed this recipe to bake in a 12”x15” sheet pan. Set aside. 

With a handheld or stand mixer fitted with a paddle, beat the butter, 1 cup brown sugar, granulated sugar, and orange zest together until creamed, about 2 minutes. Add the eggs, sour cream and vanilla and beat on medium speed until combined. Scrape down the sides and bottom of the bowl as needed. The mixture will look curdled; that’s okay, it will come together when you add the dry ingredients. 

Pour the dry ingredients into the wet ingredients, add the milk and orange juice, and beat on medium speed until the batter is completely combined. Stir in cranberries. Batter is thick, yet silky. 

Mix filling ingredients together in a small bowl. 

Pour half of the batter evenly into the prepared pan. Sprinkle the filling ingredients evenly on top and pack down slightly. Cover evenly with the remaining batter. 

Bake 30-40 minutes for a sheet pan or 55-60 minutes for a Bundt pan or until a toothpick inserted into the cake comes out clean. (I tented the edges with foil after 20 minutes to prevent over browning.)

Once done, remove from oven.  (Allow Bundt cake to cook 2 hours in the pan, then invert to a serving dish.)

Make the icing by whisking confectioners’ sugar and orange juice together, adjusting confectioners’ sugar and juice to a drizzle thickness. Drizzle over cake before slicing and serving.    


Notes: 

Most ingredients combine better when they are at room temperature. Set the eggs, measured milk, butter, and sour cream out ahead of preparation time. 

The original recipe suggests fresh orange juice, I used orange juice from the carton. 


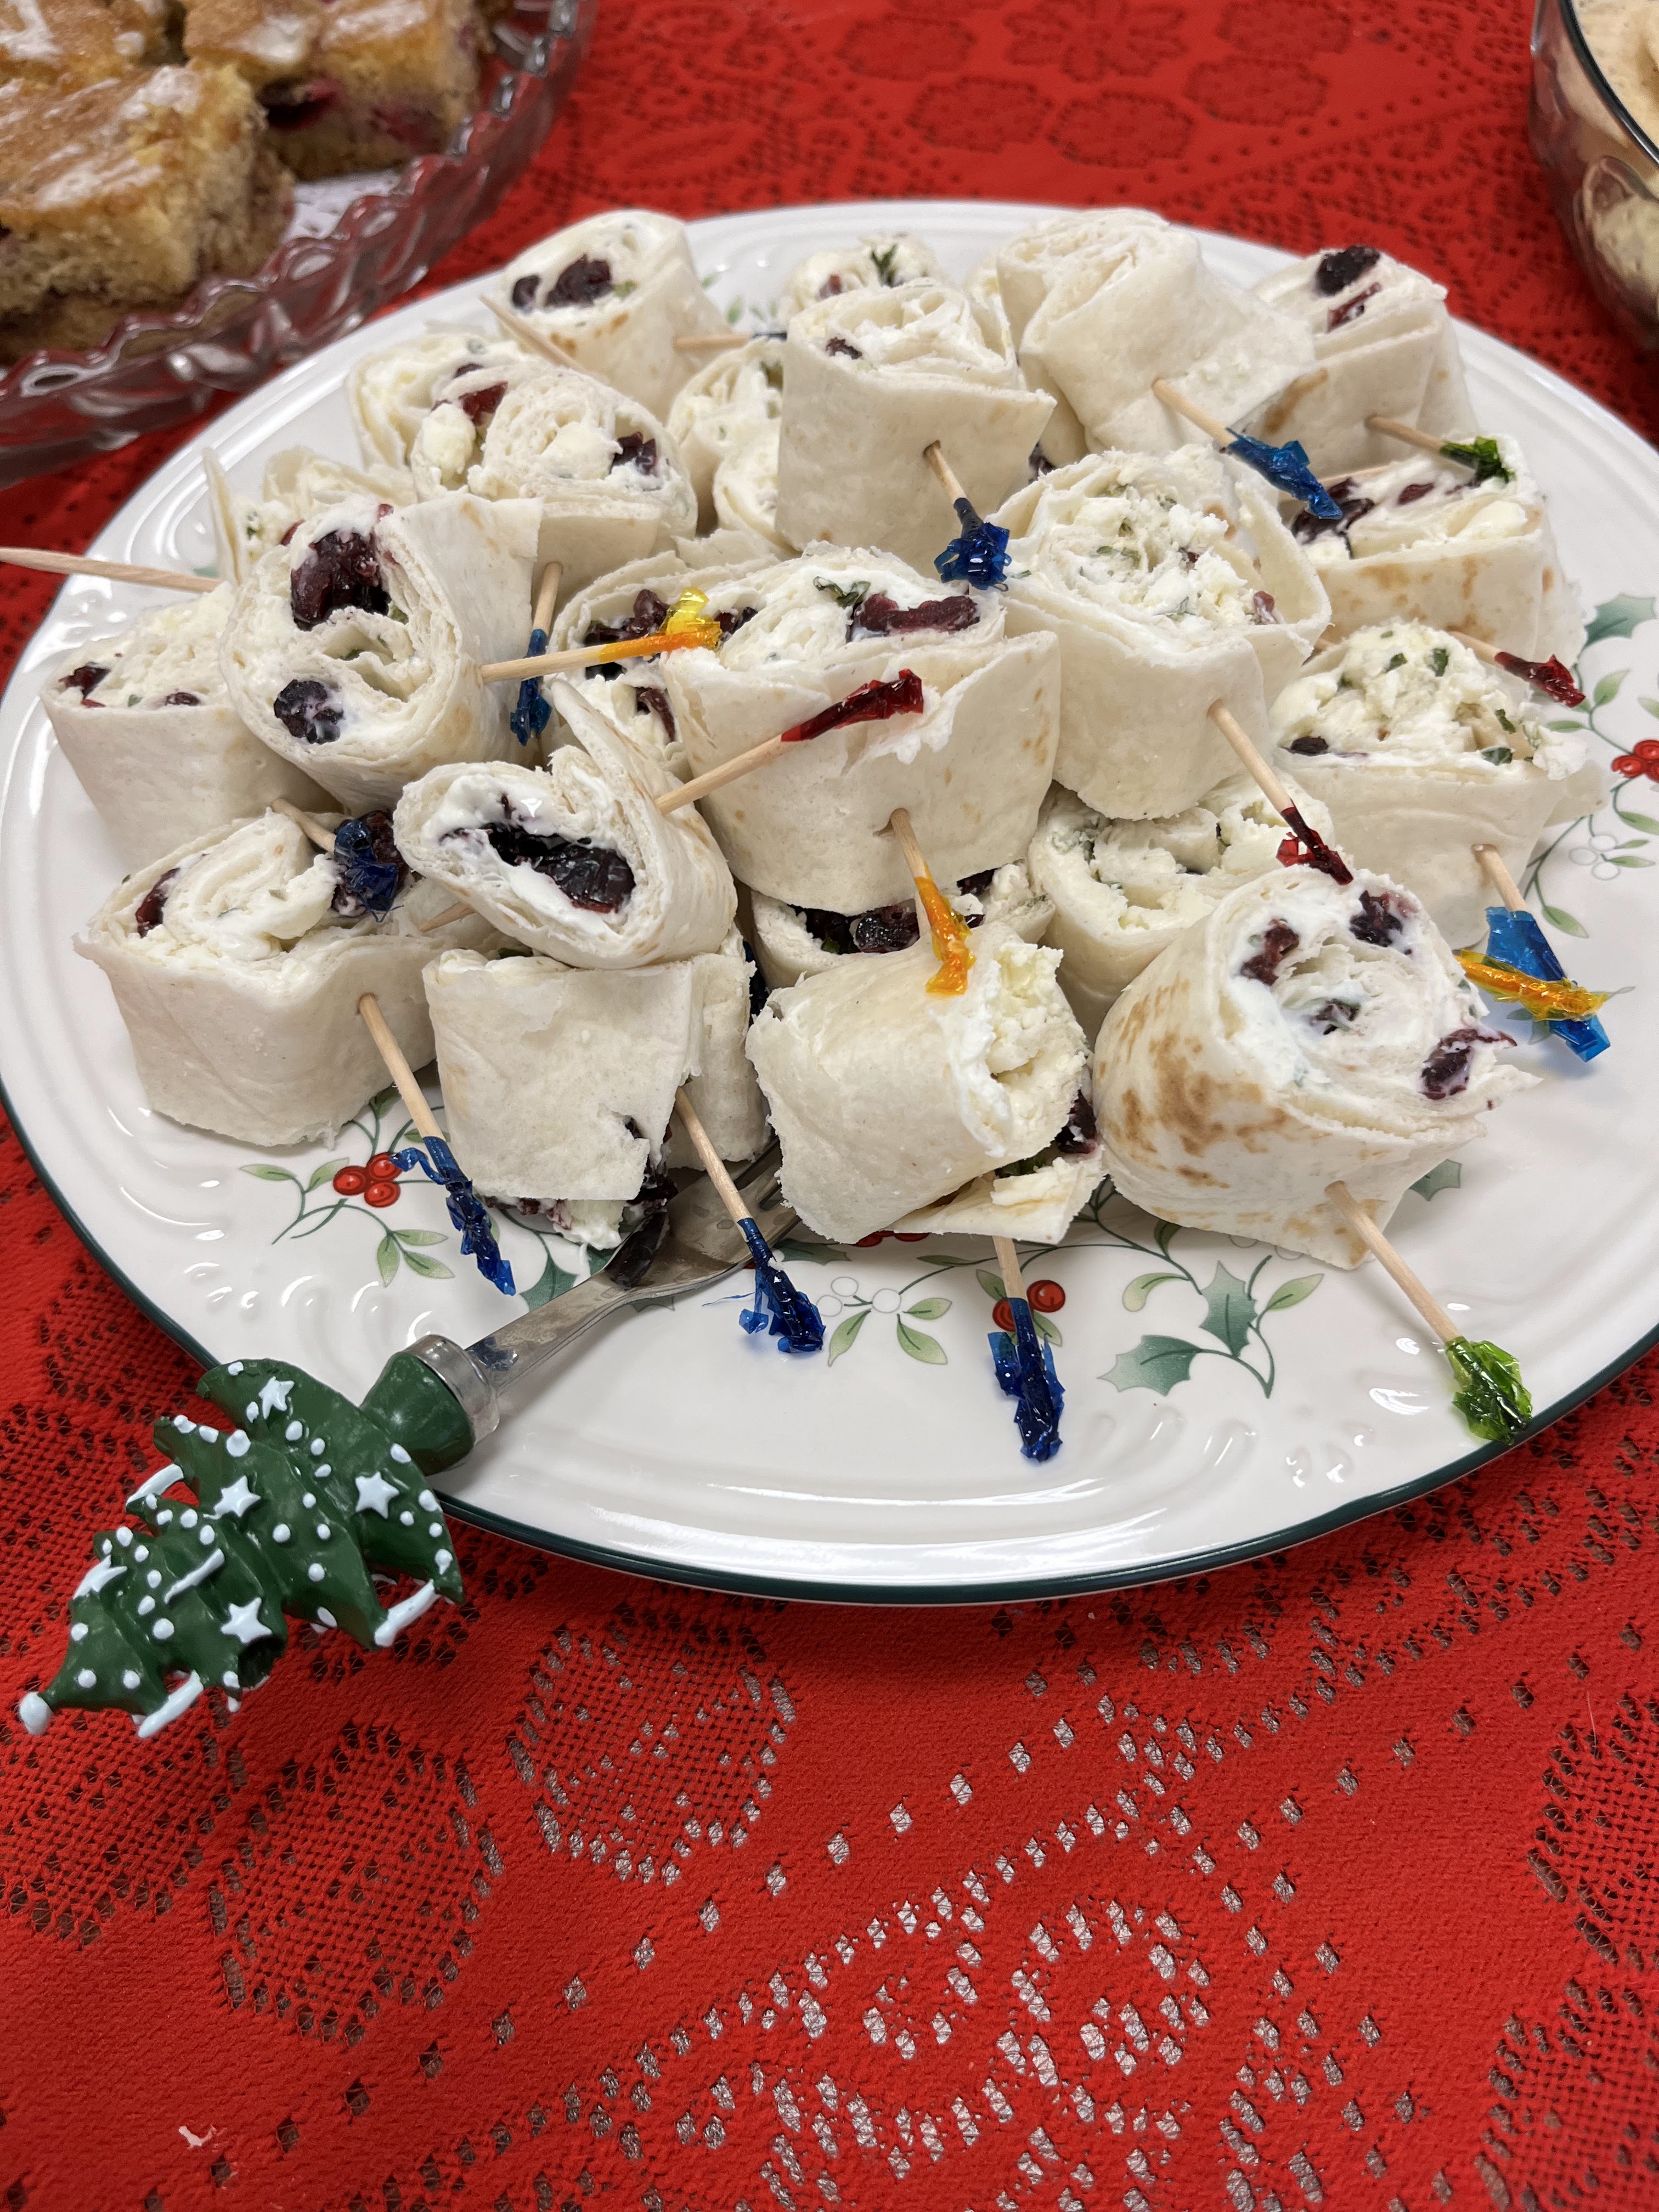
Feta Cranberry roll ups on flour tortilla 
with whipped cream cheese. 
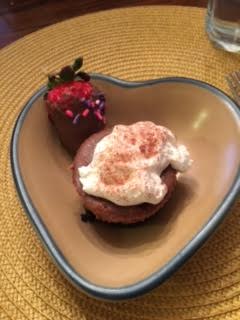
Crescent rolls, separated, with a dollop (3 cherries
+sauce) of cherry pie filling in wide end.
Roll up and bake.
I cut them in half for serving.


Vegetable Mousse with crackers


Wednesday, November 16, 2022

Pumpkin Bars for Pumpkin Season

 One of my favorite seasonal tastes - Pumpkin. I even have a shirt! 


So when it was my turn to make refreshments in November for a meeting, I chose Pumpkin Bars and searched for a new tasty recipe. I found it at Sallysbakingaddiction.com. The addition of maple syrup adds a good flavor without too much sweetness.  This recipe is also just the right texture, not too dense or too cake like.


 The Best Pumpkin Bars


Ingredients:

2 cups all-purpose flour

1 ½ teaspoon baking powder

1 teaspoon baking soda

1 teaspoon salt

1 ½ teaspoons ground cinnamon

2 teaspoons pumpkin pie spice

1 cup vegetable oil

3 large eggs

1 cup packed brown sugar

⅓ cup granulated sugar

2 tablespoons pure maple syrup

1 can (15 oz) pumpkin puree

1 ½ teaspoons vanilla extract


Cream cheese frosting:

8 oz full-fat block cream cheese, softened to room temperature

¼ cup unsalted butter, softened to room temperature

3 cups confectioners’ sugar

1 teaspoon vanilla extract

¼ teaspoon pumpkin pie spice

⅛ teaspoon salt

Optional: sprinkles for decorating


Instructions: 

Preheat the oven to 350 ° and grease a 10x15 inch baking pan, or line the pan with parchment paper with enough overhang on the sides to easily lift the bars our as a whole. 

Whisk the flour, baking powder, baking soda, salt, cinnamon, and pumpkin pie spice together in a large bowl. Set aside. Whisk the oil, eggs, brown sugar, granulated sugar, maple syrup, pumpkin, and vanilla extract together until combined. Pour the wet ingredients into the dry ingredients and use a mixer or whisk until completely combined. Batter will be thick. 

Spread batter into the prepared pan. Bake for 28-35 minutes. Baking times vary, so keep an eye on it. The bars are done when a toothpick inserted in the center comes out clean. If you find the top or edges of the bars browning too quickly, loosely tent with aluminum foil. 

Remove the bars from the oven and set the pan on a wire rack. Cook bars completely. 

Make the frosting: in a large bowl using a handheld or stand mixer fitted with a paddle or whisk attachment, beat the cream cheese and butter together on high speed until smooth and creamy. Add confectioners’ sugar, vanilla, pumpkin pie spice, and salt. Beat on low speed for 30 seconds, then switch to high speed and beat for 2 minutes. If you want the frosting a little thicker, add an extra ¼ cup of confectioners’ sugar. Spread the frosting on the cooled bars. To help ‘set‘ the frosting, refrigerate for 30 minutes before slicing and serving. This makes cutting easier and less messy. 

Cover leftover bars tightly and store in the refrigerator for up to 5 days. 


Saturday, September 24, 2022

Aloha


Our P. E. O. Chapter celebrated our first meeting of the fall with a Hawaiian themed meeting.  While we didn't do any hula dances, we greeted each member with a lei and enjoyed tropical flavored refreshments. My part was these Coconut Macadamia Nut Bars, with lots of butter, sugar, cream they are deviously rich and yummy with coconut and macadamia nuts to add taste and texture. We also served mini fruit kabobs, mixed nuts and more macadamia nuts, and a sparkling pineapple punch. 


COCONUT MACADAMIA NUT BARS


Ingredients

Crust: 

2 cups flour

2 sticks cold butter, cut into pieces

⅔ cup powdered sugar


Coconut topping

½ stick butter (1/4 cup)

½ cup packed brown sugar

¾ cup canned cream of coconut

¼ cup heavy cream

2 tablespoons fresh lemon juice

2 ⅔ cup sweetened flaked coconut

1 ⅓ cup macadamia nuts, large pieces halved


Directions:

1. Preheat oven to 350 °. Grease or line 9 x 13-inch pan with nonstick foil or parchment paper. 

2. In food processor, pulse together flour, 2 sticks of butter and powdered sugar till butter is the size of small peas and mixture resembles cornmeal. Pat into bottom of prepared pan (the dough will be crumbly). Bake 20 minutes. 

3. Melt the half stick of butter in a saucepan. Remove from heat. Add brown sugar, and stir till dissolved. Add the rest of the ingredients and mix well. Pour topping over crust. Reduce oven temperature to 325 °. And bake about 40-50 minutes till bars are lightly browned. 

4. Cut into bars when cool. These freeze well. 


Yield 24 bars. 

Recipe from thatskinnychickcanbake.com


Saturday, September 17, 2022

Sausage and Pepper Quiche

Is is Fall or is it Summer? The calendar says fall and the temperature says sumner. Its hard to know what to cook on these 'no-season' days.  Here's a good recipe for those between salads and soups meals. 

Its also an easy recipe to adapt to what you have on hand. I used some evaporated milk left from another recipe instead of heavy cream and added some chopped tomatoes left from a salad prep. Mushrooms would also be a good addition. 


SAUSAGE AND PEPPER QUICHE                    


Ingredients: 

1 store bought 9-inch pie crust

1 pound regular or hot breakfast sausage

1 tablespoon olive oil

1 tablespoon butter

½ large red bell pepper, diced

½ large green bell pepper, diced

1 medium yellow onion, diced

2-3 cloves garlic, minced

4 large eggs

1 cup milk

⅓ cup heavy cream or half and half

1 cup cheddar cheese, grated, 

1 teaspoon dried sage

½ teaspoon each salt and black pepper


Directions: 

Preheat oven to 375 ° F. If you’re using a rollout crust - Spray 9-inch pie plate or tart pan with nonstick spray. Roll out pie crust and press into a 9-inch pie plate. Trim away any excess dough and flute or crimp the edges of the crust. Set aside. If you’re using a preformed crust, just set aside to thaw. 

Heat ½ tablespoon oil in a large skillet over medium-high heat. Add the sausage, breaking it up with a wooden spoon, and cook, stirring occasionally, until well browned and cooked through, about 5-7 minutes. Using a slotted spoon, transfer the sausage to a paper towel lined plate. 

Add remaining oil and butter to skillet. Add onions and cook until they are caramelized, approximately 10-12 minutes. Add bell peppers and cook, stirring occasionally for an additional 3-4 minutes.  Add garlic and cook for 1-2 minutes. Remove peppers and onions from heat and set aside. 

Meanwhile, in a large bowl, whisk together eggs, milk and heavy cream; whisking until well combined. Stir in cooked sausage, vegetables, cheese, sage, salt and black pepper. Pour egg and sausage mixture into the prepared pie crust. 

Bake in preheated 375 ° F. oven for 40-45 minutes or until crust is golden brown and filling is set. Serve warm, at room temperature or cold, garnished with fresh sage, if desired. 


Good to serve with fresh fruit or a simple salad. 

6 servings


Monday, April 4, 2022

Meatless Monday - NOT!

Do you remember school lunch goulash? Me, too! Ugg! But this is the grown up version of goulash and its very tasty. I use lots of recipes for ground beef because we have a freezer full of beef and ground beef is so versatile and easy to fix. Yesterday it was burgers, today goulash, and later this week it will be tacos. 


 Not School Lunch Goulash


2 Tbs. olive oil

1 onion, chopped

3 garlic cloves, chopped

1 ½ lb ground beef

1 (15 oz) can beef broth

1 (15 oz) can tomato sauce

1 (15 0z) can diced tomatoes

1 Tbs. Worcestershire sauce

 1 tsp seasoned salt

2 tsp dried Italian seasoning

1 Tbs ground paprika

½ tsp ground black pepper

2 cups elbow macaroni

1 cup sharp cheddar cheese grated


Directions: 

1. Place the oil in a large dutch oven or pot and place over medium high heat. When hot, add the onion and cook until slightly softened, about 3 minutes. Add the garlic and cook 1 more minute. Add the ground beef, breaking it into small pieces with a wooden spoon, and cook until no pink remains, about 5 minutes. If a lot of liquid or fat remain in the skillet, drain most and discard. 

2. Add the beef broth, tomato sauce, diced tomatoes, ½ cup water, Worcestershire sauce, seasoned salt, Italian seasoning, paprika and ground black pepper. Stir to combine and return to a simmer. 

3. Add the macaroni and return the pot to a simmer once again. Reduce heat to medium low and cook for about 12 minutes, until the macaroni is tender, stirring occasionally. Remove from the heat and fold in the cheese. Stir until it is completely melted into the sauce. Serve topped with chopped herbs if desired. 


I served this Apple-Celery salad, cherry tomatoes, and fresh rolls with the goulash for a hardy main meal of the day. Next time I make the Apple-Celery salad I’ll reduce the amount of cinnamon, it seemed a little strong to me. 


Apple and Celery Salad


2 cups chopped apples

1 cup chopped celery

½ cup raisins or craisins

½ cup chopped nuts (pecans)

Mix salad ingredients together. 

Dressing: 

¼ cup vanilla yogurt

2 Tbs. orange juice

½ tsp. cinnamon

Add dressing to salad mixture. Chill 30 minutes before serving. 

Sunday, February 13, 2022

Happy Valentines Day


February has lots of reasons to bake and cook. Cold weather calls for hot soups and warm breads. Valentines Day is full of sweet things. And later we'll have cherry pie for George Washington. My family enjoys all these reasons and the food that they bring! 
Mini Cheesecake + 
chocolate covered strawberry

Tonight we had a family Valentine Dinner with Italian Vegetable Soup (recipe on the blog of January 13, 2019) with Cheese Wheel (recipe from Dec. 26, 2012).  Those are family favorites! We ended the meal with chocolate covered strawberries and Cocoa Cheesecake  Minis, a new favorite. Here's the recipe for the cheesecakes. I liked the prep of the minis, it seemed easier and baked more quickly that a large cheesecake, plus there were fewer servings/leftovers/calories. 

COCOA CHEESECAKE MINIS


Ingredients:

Base – 

10 Oreo or chocolate sandwich cookies 

1 tablespoon unsalted butter, melted

2 (8-oz) packages cream cheese (room temperature) 

Filling – 

½ cup granulated sugar

¼ cup unsweetened cocoa powder

2 large eggs


Preheat oven to 325 ° with a rack in the center position. Line a 12-cup muffin pan with paper liners and set aside. 

Crumble the cookies in a food processor to fine crumbs and add the melted butter.  Divide among the 12 cupcake papers. Press into the bottom with a small cup. Bake for 8 minutes. Allow to cook completely. 

Beat cream cheese, granulated sugar, and cocoa powder in a stand mixer with the paddle attachment or with a hand-held mixer, until smooth. (the original recipe had the option of adding ¼ cup Bailey’s Irish Cream here. We have children at our table so I omitted this.)

Add the eggs, one at a time, mixing on low speed after each just until blended. Do not overmix (overmixing is what causes a cheesecake to crack). Distribute the batter evenly among the cookie crust cups. 

Bake for 22 – 25 minutes, or until the centers are almost set. Place on a rack and cool completely. Refrigerate for two hours. 

To serve, remove the paper liners and top with whipped cream. Sprinkle with a bit of cocoa powder (you can use the same unsweetened cocoa powder as the filling ingredient. I used a sprinkle of the dry cocoa powder we use for the children’s chocolate milk)