Tuesday, January 30, 2018

Coffee Cake for Kansas Day and more...

We celebrated Kansas Day this week. Besides a proud heritage from pioneer settlers, Kansas has a interesting history of food facts. For instance: 
At one time it was against the law to serve ice cream on cherry pie in Kansas. My family would be upset! 
Pizza Hut restaurants opened its first store in Wichita. I believe that building is now on the Wichita State campus as a historical site. 
The graham cracker was named after Reverend Sylvester Graham. He was a minister who strongly believed in eating whole-wheat flour products. 
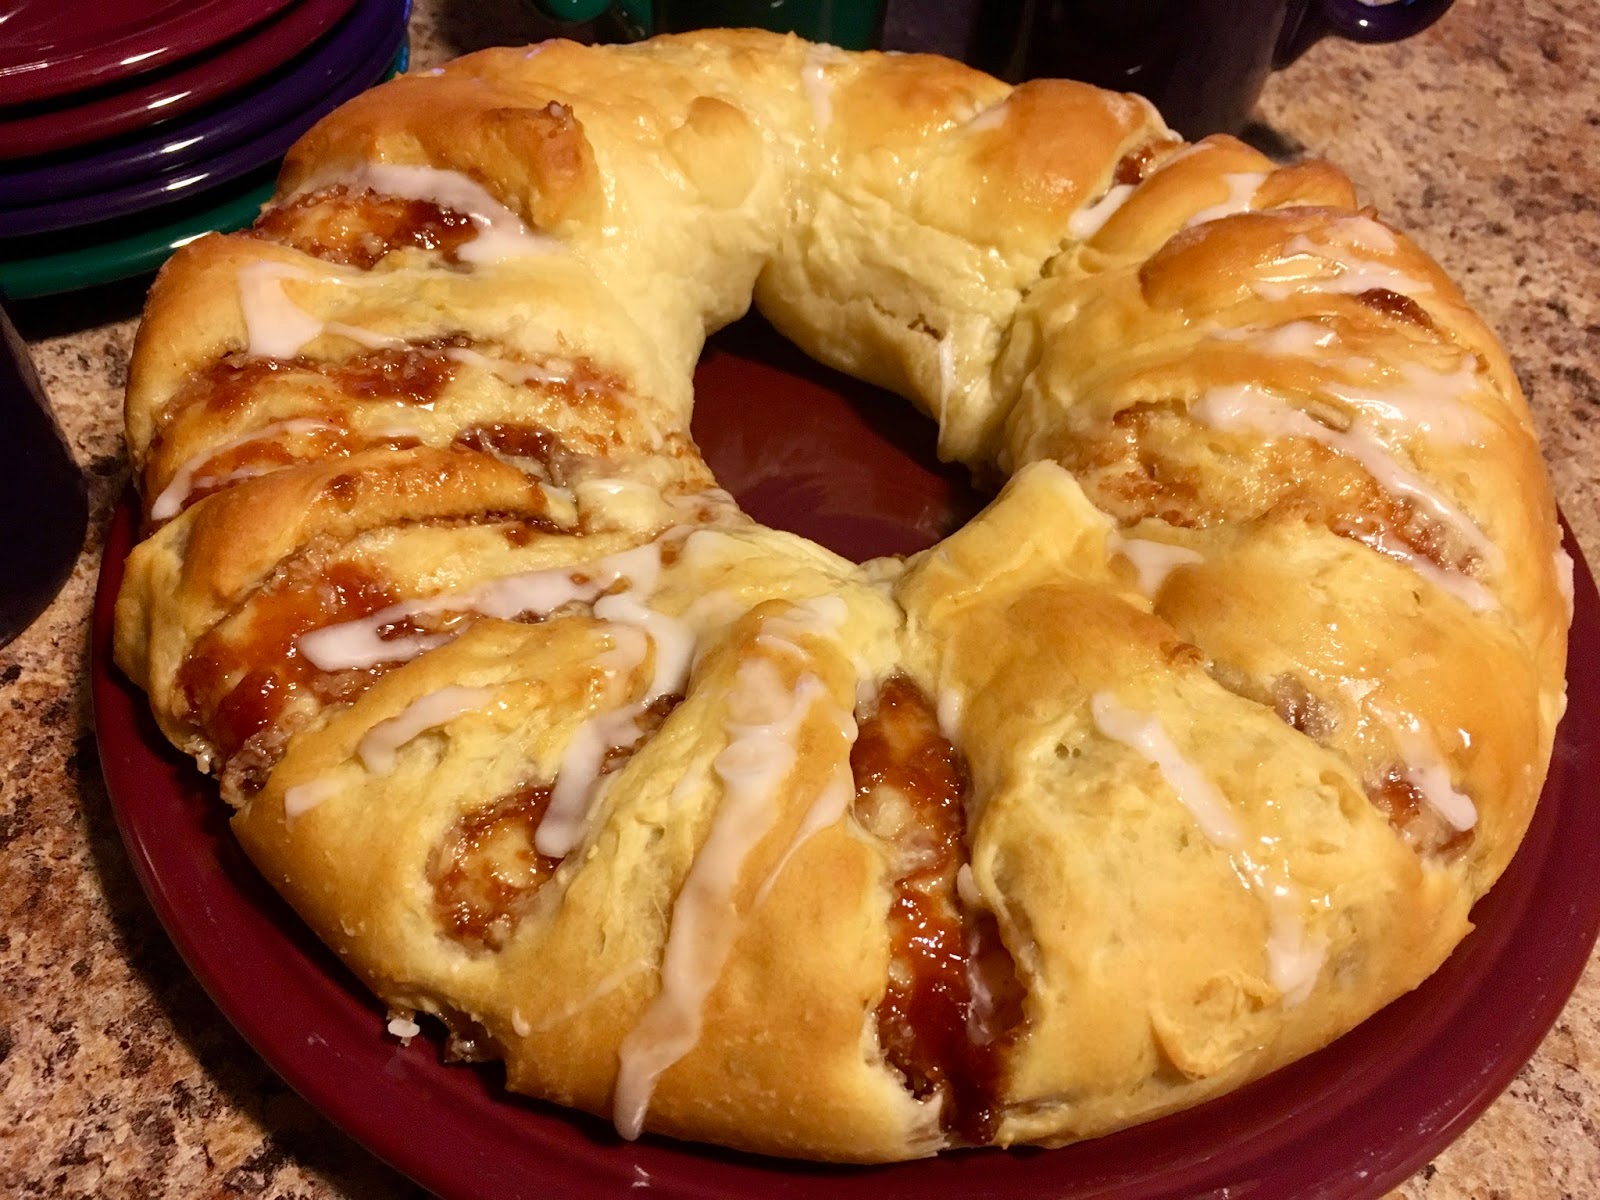
We usually acknowledge the day with special foods that have some Kansas connection. I took this coffee cake to our church's coffee time last Sunday and it was well liked. Of course, we claim the flour as Kansas grown wheat and the pecans were from the KSU Research Center in southeast Kansas. In the instructions I've noted some tips for preparation and why. 


CINNAMON STREUSEL COFFEE CAKE       


Ingredients:
¾ cup granulated sugar
½ cup unsalted butter, softened
1 ½ teaspoons vanilla extract
3 large eggs
2 cups all purpose flour
1 teaspoon baking soda
1 teaspoon baking powder
¼ teaspoon kosher salt
1 cup sour cream
Streusel Filling:
3 tablespoons butter, melted
¾ cup packed brown sugar
¾ cup chopped pecans
2 teaspoons ground cinnamon

Preparation:
1.     Preheat oven to 350°F.
2.     In the bowl of a standing mixer or with a handheld mixer, cream together the butter and sugar for 4-5 minutes until light and fluffy. (Don’t skimp on this step, the creaming of butter and sugar not only thoroughly mixes the ingredients, the sharp edges of the sugar cut into the butter creating tiny air pockets to make the product lighter)
3.     Add the eggs, one at a time, making sure to fully incorporate before adding the next one(one at a time allows the mixture to thicken and emulsify). Add the vanilla.
4.     In a separate bowl, whisk together the flour, baking powder, baking soda, and salt.
5.     Alternately add the flour mixture and the sour cream to the butter until combined. (Additional steps, but it makes a difference. Adding flour all at once could cause the batter to be too thick. Adding liquid all at once could cause the batter to separate.) Start and end with dry ingredients. Stir after each addition, but only until just combined.
6.     In a small bowl, combine the brown sugar, pecans, cinnamon and melted butter. Stir to combine well.
7.     Pour half the batter into a greased bundt pan, and smooth down with a spatula as this batter is thick and fluffy.
8.     Sprinkle the brown sugar mixture all over the batter in the bundt pan and pat in down lightly.
9.     Pour in the remaining batter and smooth down with a spatula.
10. Place the bundt pan in the oven and bake for 45-50 minutes, until a toothpick inserted in the center comes out clean.


Saturday, January 20, 2018

Comfort Food - Pot Pie

These cold days call for warm, comfort food to make us feel cozy and good. I always think of soups and pot pies for these days. Recently, K-State's "You Asked It!", a newsletter of food information had an article of Pot Pies, so I'll share a bit of history from there and their source, The Encyclopedia of American Food & Drink. I think its always interesting to learn origins and background stories of our food.
Pot Pies are typically a basis dish with crust, meat, vegetables and a gravy or sauce. It is a good way to put all the parts of a meal together in one entree and a handy way to use leftovers. The crust can be two crust, top and bottom; or just a top covering of biscuits. Sometimes mashed potatoes are used on top and that version is often called "Shepherd's Pie".
The earlier pot pies were a very 'lively' dish, sometimes made with a living bird inside that would burst through the pie shell when cut and fly out! This was served in 16th century England. Imagine the diner's surprise when the main course burst open like that! Doesn't sound too appetizing to me.
Pot Pies were also described as "Sea Pie", which were made aboard ships.
The early 1950's brought many changes to American dining, and frozen dinners became popular. One of the early ones was a frozen pot pie made with chicken. Today, chicken pot pie is still a favorite.

So this week I used some leftover cooked chicken from the freezer, half a bag of mixed vegetables, canned condensed soup, and baking mix to create a simple Pot Pie. With a salad and a roll it made a comforting lunch on a cold day. Look in your freezer to see what you can put together for this winter favorite.

EASY CHICKEN POT PIE

Ingredients:
1 can (10 ¾ oz) condensed cream of chicken soup
1 package (9 oz) frozen mixed vegetables, thawed
1 cup cubed cooked chicken or turkey
½ cup milk
1 egg
1 cup all-purpose baking mix

Directions:
·      Heat the oven to 400°F. Stir soup, vegetables and chicken in a 9-inch pie plate.
·      Stir milk, egg and baking mix in a small bowl. Spread the batter over the chicken mixture.
·      Bake for 30 minutes or until the topping is golden brown. ( 4 servings)
(


Monday, January 15, 2018

Come for Tea: Guava-Cream Cheese Tea Rings

     "A party without cake is just a meeting", (Julia Child quote). Another committee meeting, but more than that. With good friends and neighbors the committee meeting was more like a small party. So we had a tea ring.
     I'd put off trying this recipe for over a year, it seemed more intimidating that it really was! Its from the Kansas Wheat Commission's Recipe booklet of 2016, a collection of bread recipes submitted to the 2015 National Festival of Breads. While these recipes didn't make it to the finals, they are easy-to-follow, trusted and tasty recipes. You can always expect an unusual twist on ingredients or preparation methods in the NFOB; contestants are looking for something to set their recipe apart. This tea ring uses guava paste as a filling.
     Guava paste was new to me. Of course I couldn't find it in our local store, so an on-line source was my supplier again. You really can get anything delivered in a box with a smile logo. Guava is a tropical fruit grown on a small tree in Mexico, Central America and northern South America. The package I have is a product of Dominican Republic. It is claimed to be the "Queen of Fruits", (pineapple is the "king"), and have many health benefits of vitamin C and potassium.
     This recipe wasn't as difficult as I'd expected. The preparation is much like cinnamon rolls. However, I was confused by the instructions to cut slits in the top layer of dough and then twist it. I ended up just cutting slits to let the rising action open the tea ring to expose the filling. This is where I got to use the 'lame' - a bread scoring knife with a handle and sharp blade. A lame often used for slashing risen country loaves of bread, such as baguettes, to allow the bread to expand fully to its proper shape as it bakes. You can also use a sharp knife.
     So, what do I do with the left over guava paste? Even after I used more than the 12-oz the recipe listed, I still had some left.  My package was 21 ounces, but 2/3 cup was more than half of this amount. I did spread the paste thickly over the cream cheese. Guava paste is very sweet and will pair nicely with crackers and cheese. It could be used as a jelly, or mixed with barbecue sauce for a sweet/tart flavor. Or, there are other recipes for cheesecakes and tarts.
This is my package of guava paste

GUAVA-CREAM CHEESE TEA RINGS


Ingredients:
¼ cup granulated sugar
¼ cup shortening
1 teaspoon salt
1 cup scalded milk (180° F) cooled to lukewarm (110°F-115°F)
1 (1/4 oz) package Red Star Active Dry Yeast
½ cup warm water (110° F - 115°F)
1 large egg, beaten
4 – 4 ½ cups King Arthur Unbleached Bread Flour

Guava Filling:
1 (8-oz) package cream cheese softened
¼ cup confectioners’ sugar
 1 ⅓ cups (12 oz) guava paste, divided

Icing (optional):
1 cup confectioners’ sugar
2-3 tablespoons milk

Directions:
1.     In bowl of a stand mixer fitted with paddle, stir together sugar, shortening, and salt. Add lukewarm milk.
2.     Whisk together yeast and water. Wait 5-10 minutes for it to foam (proof). Add to mixer bowl along with egg. Mix until well combined.
3.     Gradually add 4 cups flour, switch to dough hook. Add enough remaining flour to make a soft, workable dough. Knead 8-10 minutes. Place in greased bowl. Cover; let rise until doubled.
4.     For the filling: In a small bowl, combine cream cheese and confectioners’ sugar.
5.     Deflate the dough and place on a lightly floured surface. Divide in half; cover, let rest 5 minutes. Roll out half of the dough into a 14” x 9” rectangle. Spread on half of the cream cheese mixture.
6.     Heat cup guava paste in microwave a few seconds until smooth. Spread over cream cheese
7.     Beginning with 14” edge, tightly roll dough into a log and pinch seam together to seal. Place seam-side down on parchment-lined cookie sheet. Form into an 8” circle pressing ends together. Using scissors or sharp knife, cut slits on top at 1” intervals, about ½” deep. Pick up top layer of dough on each slice and gently twist to reveal filling. Repeat with other half of dough.
8.     Cover; let rise until almost doubled. Near the end of the rise, preheat oven to 375°F. Bake 20-22 minutes or until golden. If needed, cover loosely with aluminum foil to prevent tea ring from overbrowning. A thermometer inserted in center should register 195°F. Remove from oven, and after 5 minutes, transfer to rack to cool.

9.     For icing: Whisk together the sugar and milk. Drizzle icing over tea rings.


dough spread with cream cheese and guava paste

dough formed into a ring and slashed with a lame

Friday, January 12, 2018

SnowBall Cookies


The Weather Outside is Dreadful...Let it Snow? Even though the temps have been in the single digits here, there is no snow! So we decided to rename these no-bake cookies "SnowBall Cookies".
If you're still craving a bit of sweet treat after Christmas, these cookies have a bit of sweetness, a little crunch, and the rich nutty flavor of peanut butter. They're a good munch, make them small and seal them in a container to avoid temptation of eating too many.


NO-BAKE SNOWBALL COOKIES

Ingredients
2 cups Rice Krispies
1 cup mini marshmallows
1/2 cup creamy peanut butter
1 lb.  white chocolate
Instructions:
Line to baking sheets with parchment paper or wax paper. Set aside.
Add the Rice Krispies and marshmallows to a large bowl. Set aside.
In a double broiler or in the microwave oven in short times with frequent checking, melt the white chocolate and peanut butter together. Once melted, pour over the cereal mixture and mix to combine well.
Drop by tablespoonful onto the wax paper. Place in the refrigerator to set up. Store in an airtight container for up to 5 days.


Now the hard part - waiting until they 'set'
to eat them!
And one of the good parts - getting to lick the
spatula - 'no-bake' equals no raw dough taboo!