Wednesday, December 31, 2014

Pork Loin for a Holiday meal

Planning special meals for Holiday times allowed me to expand our usual menus. Instead of planning the meal around whatever package of beef I pulled from the freezer, I actually stopped at the meat counter of the grocery store and bought meat! Beef is always a favorite at our house, and our loyalty will stay there, but having pork for holiday meals was a treat also.
Pork Loin Roast was one special meal. Pork is also a lucky food for New Year's Day, especially in the Midwest. The South can have their black-eyed peas, but here in the Midwest we're more likely to find pork and sauerkraut on our New Year's Day table.
The superstition that makes Pork a celebratory food is that because pigs root ahead as they feed, as opposed to chickens and turkeys, who move backwards as they scratch and eat. This is considered a symbol of progress and good luck for the new year. Also many of our ancestors came from Germany, where pork is a popular meat. Pork is often considered a winter food, dating from the times when farmers would slaughter the pigs they'd raised in the fall so they could do the time consuming butchering job during cold weather. Fresh cuts were used first, then the smoked and preserved hams and sausages followed.
Our dinner was Herb Crusted Pork Tenderloin. The tenderloin I purchased was a roast cut from a very large tenderloin. If you find smaller tenderloins than can be cut into medallions, that makes a nice presentation.

Herb Crusted Pork Tenderloin


Ingredients:
1 (4-pound) boneless pork loin with fat left on
1 tablespoon salt (or less)
2 tablespoons olive oil
4 cloves garlic, minced
1 teaspoon dried thyme
1 teaspoon dried basil
1 teaspoon dried rosemary

Directions:
Preheat oven to 475 degrees. Place the pork loin on a rack in a roasting pan. Combine the remaining ingredients in a small bowl. With your fingers, massage the mixture into the pork loin, covering all of the meat and fat.
Roast the pork for 30 minutes, then reduce the heat to 425 degrees and roast for an additional hour. Test for doneness using an instant-read thermometer. When the internal temperature reaches 155 degrees, remove the roast from the oen. All it to sit for about 20 minutes before carving, it will continue to cook while it rests.


Saturday, December 27, 2014

Cranberry Swirl Cheesecake Tart

Christmas Day is past and our memories are filled with festive gatherings, delicious foods, and generous gifts. As we sort and put away Christmas decor and supplies, its also a time to consider what foods were favorites and which recipes were 'keepers'.
I made a new recipe for dessert at our family gathering. Everyone likes cheesecake and cranberries, and I like to make tarts with the pan I sometimes forget I have. (blog of March 22, 2013 for a savory tart). I have also made a  strawberry tart with a chocolate crust, but haven't blogged it yet. So the Cranberry Swirl Cheesecake Tart recipe sounded like the perfect dessert for Christmas dinner, and it was. It will be a 'keeper' recipe.

Cranberry Swirl Cheesecake Tart

Ingredients:
1 (9-oz) box chocolate wafer cookies (I didn't find these at our store, but purchased a package of store-brand chocolate sandwich cookies and scraped out the filling. A 15 oz package yielded 9 oz of wafers)
6 tablespoons chilled butter, cut into 6 pieces
1 cup fresh or frozen cranberries, thawed
3 tablespoons water
2 tablespoons lemon juice
½ cup sugar + 2 tablespoons
2 tablespoons light corn syrup
2 (8-oz) packages cream cheese, softened (I used 1 ½ packages of lite cream cheese)
1 tablespoon all-purpose flour
1 (8-oz) container (1 cup) sour cream (again, I used lite sour cream)
1 teaspoon vanilla extract
½ teaspoon lemon zest
2 large eggs

Directions:
Preheat oven to 350 degrees. Spray an 11-inch round tart pan with a removable bottom with nonstick cooking spray. Set aside. 
In the work bowl of a food processor, combine cookies and butter; pulse until finely ground, approximately 8 times. Using the bottom of a measuring cup (or hands), press cookie crumb mixture into bottom and up the sides of prepared tart pan. 
Bake for 8 minutes. Remove from oven; let cool for 30 minutes on a wire rack. 
The crust is baked, ready to cool.
In a small saucepan, combine cranberries, 3 tablespoons water, lemon juice, 2 tablespoons sugar, and corn syrup; bring to a boil over medium-high heat. Reduce heat to medium-low; simmer until cranberries pop and mixture thickens, approximately 5 minutes. Remove from heat; let cool for 15 minutes, stirring occasionally. 
This smells wonderful while cooking. 
Pour cranberry mixture into the container of a blender. Process until smooth, stopping occasionally to scrape sides of container. Pour cranberry mixture into a bowl. 
In a large bowl, combine cream cheese, remaining ½ cup sugar, and flour. Beat at medium speed with an electric mixer until smooth, stopping occasionally to scrape sides of bowl. Add sour cream, vanilla, and lemon zest, beating until blended. Add eggs, one at a time, beating well after each addition. Spread cream cheese mixture evenly into prepared crust. 
A rich creamy mixture
poured onto the crust


Drop cranberry mixture by teaspoonfuls over cream cheese mixture. (if it has thickened while cooling, stir in just enough water to thin the mixture). Lightly swirl cranberry mixture using a wooden pick. Gently place tart on a rimmed baking sheet. 
Bake until set, approximately 25-30 minutes. Remove from baking sheet. Let cool for 30 minutes on a wire rack. Lightly cover and refrigerate until chilled, approximately 3 hours. 
If desired garnish with sugared cranberries and sugared rosemary sprigs. 

Saturday, December 13, 2014

Cookie Season

It's always cookie time at our house, cookies are just the right snack or dessert and easy to make. Once when I was working, a woman asked me "how do you keep cookies from going stale?". I had honestly never thought about that or had the opportunity for cookies to go stale! It would be rare at our house to have cookies around long enough for them to go stale.
So, at Christmas time, we bring out  old favorite recipes and try new one for lots of cookie baking. One favorite that I always make at Christmas is Peanut Blossoms. It is just the right combination of peanut butter and chocolate and chewy. Recently Red Velvet has been a popular flavor so I also tried  Red Velvet Kiss Cookies, not a favorite here because I used the peppermint striped Hugs candies. The cookie flavor is good however and if you like peppermint it is refreshing. It would be good with the milk chocolate stripped Hugs also.

Peanut Blossoms                        

1 cup shortening
1 cup peanut butter
1 cup packed brown sugar
1 cup white sugar
2 eggs
¼ cup milk
2 teaspoons vanilla extract
3 ½ cups all-purpose flour
2 teaspoons baking soda
1 teaspoon salt
½ cup white sugar for decorations
2 (9 oz) bags milk chocolate candy kisses, unwrapped
Directions:
Preheat oven to 375 degrees. Grease cookie sheets or use parchment paper.
Iin a large bowl, cream together shortening, peanut butter, brown sugar, and 1 cup white sugar until smooth. Beat in eggs one at a time, and stir in milk and vanilla. Combine flour, baking soda, and salt; stir in peanut butter mixture until well blended. Shape tablespoonfuls of dough into balls, and roll  in remaining white sugar. Place cookies 2 inches apart on the prepared cookie sheets.
Bake for 10 - 12 minutes in the preheated oven. Remove from oven, and immediately press a chocolate kiss into each cookie. Allow to cool completely; the kiss will harden add it cools.
I add the chocolate kiss before baking and it seems to 'seal' the candy to the cookie better, and the kiss still holds it's shape.
When I make dough balls for rounded cookies,
I scoop all the dough into portions on wax paper
with a cookie scoop, roll each into round balls,
 then as it is placed on the cookie sheet, roll in sugar.

Red Velvet Kiss Cookies                                            

14 tablespoons butter (2 sticks minus 2 tablespoons)
1 ¾ cups all-purpose flour
¾ cup cocoa powder (use regular, not the extra dark cocoa)
½ teaspoon baking soda
¼ teaspoon baking powder
½ teaspoon salt
1 ¾ cups brown sugar, packed
1 large egg, plus one egg yolk
1 tablespoon vanilla
1 tablespoon red liquid food coloring
1 cup mini-semi sweet chocolate chips
½ cup red sanding sugar (decorative sugar)
1 (12-oz) bag Hershey's Hugs (peppermint or white chocolate)
Directions:
Preheat oven to 350 degrees. Line 2 cookie sheets with parchment paper.
In a large bowl, melt 10 tablespoons of butter in the microwave. Cut the remaining 4 tablespoons butter into 6-8 pieces, add to the melted butter and stir (this helps cool the melted butter so it won't be too hot when the eggs are added). Set aside.
In a medium bowl, whisk together flour, cocoa, baking soda, baking powder, and salt.
Add brown sugar, vanilla and red food coloring to the melted butter. Stir well to combine. Add egg and egg yolk and stir until smooth.
Add flour mixture and stir with a wooden spoon just until combined.
Add chocolate chips and mix until incorporated.
Roll the dough into balls, about 1 ½ tablespoon for each cookie. (I didn't want to roll the dough with my hands and end up with red hands from the food coloring, so I used a cookie scoop that made uniform rounded shapes) Roll the balls in the decorative sugar (I sprinkled the sugar over the balls on the baking sheet).
Bake the cookies until they have puffed and have cracks running through the top, about 12-14 minutes. Be careful not to over bake or they will be dry. As soon as the cookies emerge from the oven place a Hershey's hug in the center of each cookie. Transfer to a wire rack to cool completely.
Instead of rolling balls of dough, I used a cookie scoop so
my hands wouldn't turn red from the food coloring!
Sprinkling with red sugar worked as well as rolling
in the sugar.

Putting the candy kiss in the center of the dough makes
it stick better than adding it after baking. 

Thursday, November 27, 2014

Happy Thanksgiving

The table is set for the first of our
Thanksgiving dinners - with husband's
brothers and wives.
 Although the turkey is the star of the Thanksgiving meal, the side dishes make this all-American celebration All-Star. Its a time of stuffing ourselves as well as the turkey and serving family favorites, traditional dishes, and new versions of both. Trying to keep the calories in a reasonable range is hard this time of year; but most of our favorite recipes can be altered slightly to reduce fat, sugar and sodium. And of course the best alteration is to simply eat less! 
We will enjoy 3 dinners of turkey and the all-star sides this year. I looked for ideas for vegetables and desserts that would be healthier and still tasty. After a recent K-State Extension program, I tried some changes in traditional recipes. Some of the ingredient changes are ones that I usually make, and a good habit to keep in mind.


It is all so good - its hard not to overeat!


Citrus Sweet Potatoes 
This recipe is much lower in calories than my usual
one and just as tasty!

(instead of the mashed/candied/with marshmallows that is more like a pie custard than vegetable)
3 medium sweet potatoes (I used canned sweet potatoes - about 40 oz in all)
3 tablespoons packed brown sugar (or a little less)
1 ½ teaspoon cornstarch
½ cup orange juice
1 teaspoon grated lemon peel
instructions:
Scrub fresh sweet potatoes, cut into 4-6 pieces and cook in a covered sauce pan with just enough water to cover. When fork-tender (about 15-20 minutes), drain. Remove skin and bad spots. If using canned sweet potatoes, drain and cut into smaller pieces.
Place in a 8-inch baking dish that has been sprayed with non-stick cooking spray.
In a small saucepan, combine brown sugar and cornstarch. Whisk in orange juice and lemon peel. Bring to a boil, cook and stir for 1-2 minutes or until thickened. Pour over sweet potatoes.
Bake uncovered at 325 degrees for 25-30 minutes or until sweet potatoes are heated throughout and sauce is bubbly.

Creamy Corn      
Creamy Corn - always a favorite

2 packages (16-oz each) frozen corn
1 package (8 oz) cream cheese, cubed (fat-free or low-fat)
¼ cup butter, cubed
½ teaspoon garlic powder
½ teaspoon salt
¼ teaspoon pepper
In a 3-qt. slow cooker, combine all ingredients. Cover and cook on low for 4 hours or until heated throughout and cheese is melted. Stir well before serving.
Or bake, covered, in a 350-degree oven for 30 minutes.
Optional: add 4 Tablespoons canned chopped green chilies.

Green Bean and Corn Bake      
A new recipe - good for those who like
corn and/or green beans.

1 can (14-½ oz) French-style green beans, drained
1 can (7 oz) white or shoe peg corn, drained
1 can (10 ¾ oz)condensed cream of celery soup, undiluted
½ cup sliced celery
½ cup chopped onion
½ cup sour cream
½ cup shredded cheese
1 jar (2 oz) diced pimientos, drained
½ teaspoon salt
½ teaspoon pepper
Topping: ½ cup crushed butter flavored crackers and 2 tablespoons butter, melted
Directions:
In a large bowl, combine ingredients. (drain and rinse canned vegetables to reduce sodium) Transfer to a greased 1 ½ qt. baking dish. Combine cracker crumb mixture and sprinkle over vegetable mixture.
Bake uncovered at 350 degrees for 30-35 minutes or until topping is golden brown.


No Thanksgiving dinner is complete without
Pumpkin Pie. This is my regular/back of the can recipe
with a garnish ring of pecans/brown sugar/butter.
It's a lot for 3 people, but it will be re-served tomorrow
when daughter and son-in-law get here. 

Tuesday, November 25, 2014

Pumpkin Cream Cheese Dump Cake

This is indeed the season of the pumpkin in every sort of recipe and decor you can imagine. One of the things I enjoy this season is attending meetings of the various organizations I belong to - feeling the friendship and holiday spirit of the community and seeing what new pumpkin refreshment will be served.
Last week's meeting of Entre Nous was a good example of all that. After a panel of local health care providers explained their agency's services and cleared much confusion about recent changes in the community, a short business meeting followed. This left time for visiting and enjoying the Pumpkin Cream Cheese Dump Cake the hostesses had prepared. This is delicious with coffee or tea and will be a popular recipe for future meetings I'm sure.


Pumpkin Cream Cheese Dump Cake

ingredients:
8 oz. cream cheese
¾ cup powdered sugar
2 tsp. milk
1 can (29 oz.) pumpkin puree
1 can (12 oz.) evaporated milk
3 eggs
1 ¼ cup sugar
1 tsp. salt
1 Tbsp. pumpkin pie spice
1 yellow cake mix (dry)
½ cup butter, melted
1 Tbsp. cinnamon sugar mixture, optional
whipped cream
Directions:
Preheat oven to 350 degrees and grease a 9 x 14-inch pan.
Using a mixer, combine cream cheese powdered sugar and milk until smooth. Set aside.
In a large bowl, combine pumpkin puree, evaporated mik, eggs, sugar, salt and pumpkin pie spice. Pour into prepared pan.
Put cream cheese filling into a small sealable plastic bag , and snip off the corner to make a mini piping bag. The pipe over the pumpkin filling.
Pour the dry cake mix over the cream cheese layer then poke holes using the end of a wooden spoon or a table knife through the cake mix until you hit the filling (not to the bottom of the pan). Pour melted butter over the dry cake mix.
Sprinkle cinnamon sugar over the entire cake for extra flavor and crunch.
Bake for 40-50 minutes or until the top is browned and an inserted knife comes out clean.
Let cool and serve with whipped cream. Store in the refrigerator.


Monday, November 24, 2014

It's not a Piece of Cake

I'm a sucker for new seasonal food products when I visit a larger grocery store. This 'tempted and bought' package was for Duncan Hines Limited Edition Autumn Velvets Cake Mix. Red velvet is a favorite flavor for me and now there are many variations of that, including these double-packaged mixes of orange and brown. According to my food history research 'velvet' refers to the smooth texture of the cake crumb. Now most cakes are made from mixes and have a very consistant smooth texture, but in earlier days cakes from a recipe may not have been so predictabley fine textured.
When I planned to bake the cake as depicted on the package, with a layer of brown and a layer of orange, the references for other versions caught my eye. So from the website I found recipes for Autumn Velvets Spice Biscotti and Autumn Velvet Donuts. Both of these were good and a fun way to use the cake mixes.

Autumn Velvet Donuts

I've used this recipe with other cake mixes and it works well with spice cake mix. 
1 cake mix (18.5 oz)
1 egg
¼ cup melted butter
½ cup milk
Directions:
Preheat oven to 350 degrees. Pour ¼ cup melted butter in a large mixing bowl. Stir in ½ cup milk and add 1 beaten egg. Add cake mix and blend until smooth.
Spoon mixture into a piping bag or a zippered plastic bag with the corner cut off. Pipe into greased donut pan. Bake for 15-20 minutes. Remove from pan immediately and cool on a rack.
For frosting, heat ½ cup of ready-to-use frosting in the microwave until smooth and dip top side of donut into glaze.
I was anxious to try my new donut pan, and the
Tupperware pastry tool worked great

It is much easier to have something to pipe
the batter into the pan than to try to
spoon it in.

Donuts come out of the pan looking very much like
traditional donuts.

Glaze always adds goodness.

Autumn Velvets Spiced Biscotti

1 package cake mix
2 large eggs
4 Tablespoons butter
¼ cup flour
1 teaspoon vanilla extract
½ tablespoon pumpkin pie spice
½ cup toasted chopped pecans, walnuts or aliments
Directions:
Preheat oven to 350 degrees. Line a baking sheet with parchment paper.
Combine cake mix with egg, butter, flour, vanilla extract and pumpkin pie spice in a large bowl. Beat at low speed with electric mixer 30 seconds or until just moistened, scraping sides of bowl with rubber spatula. Continue beating at medium speed 2 minutes. Stir in nuts. Dough will be thick.
Place dough on baking pan and with floured hands, pat into a 12x4-inch log.
Bake 40 minutes. Let cool slightly. Slice log into ½-inch diagonal slices. Arrange slices on baking sheet and bake an additional 20 minutes. Transfer to wire rack and cool completely.
Soften canned frosting in the microwave oven until smooth. Drizzle on biscotti.

Batter patted into a flat log, it is
very stiff.

Baked the first time

Ready to bake the second time

Baked and glazed.
Ready to eat! 

Sunday, November 16, 2014

Saturday Trip

This Saturday I took a trip with a friend and a group from her church to Branson. The destination was the Sight and Sound Theater presentation of the Bible story of Jonah. I've been hearing about this theater and was looking forward to the trip. The lunch stop was planned to be at Lambert's Cafe in Ozark, MO. I'd also heard of Lambert's - "Home of the Throwed Rolls". This, I thought, would be interesting, but not a place that had been on my 'bucket list'.
I was pleasantly surprised! The food was very good, the atmosphere fun and very few rolls landed on the floor. It seems the tradition begin when the cook was too busy to pass rolls around with a nice "would you like a roll?", and a customer said "just throw me one". Now the wait staff throws rolls to diners from across the dining room, or if you're not so adventurous, just across your table. And the rolls are piping hot as well as delicious. As if there aren't enough calories in the large servings you'll get later, a server comes by with a bucket of sorghum molasses to pour on your roll.
I felt like I was in deeper south than north-west Missouri with a look at the menu of chicken fried steak, fried catfish, hog jowl, country ham steaks and more. Besides the generous servings, there are pre-meal, meal, and post meal offerings of 'pass-arounds', as servers come by each table with kettles of fried okra, black-eyed peas, fried potatoes and onions, and macaroni and tomatoes. If your plate is full, just tear a brown paper towel from the roll on the table.
I had Chicken Tenders with beets and chunky applesauce.
More than I could eat!

My friend had the Chicken Fried Round Steak-
'Hen' size (not 'Rooster') was 'only' 11 oz. 

We left the restaurant with no plans or needs for a supper stop after the show. In fact, many left with carry-out boxes of leftovers. This was a fun and filling lunch stop, I'd recommend it whether that's your 'bucket list' or not.

Friday, November 14, 2014

Taste of Kansas - Butternut Squash Soup

One of the things I like about living in Kansas is the changing seasons. Usually this is gradual and allows us to enjoy the cooling (or warming) days and anticipate the coming season. This year it seems like we've plunged directly into winter. But the recent "From the Land of Kansas Blog" featured five recipes of fall produce from Kansas.
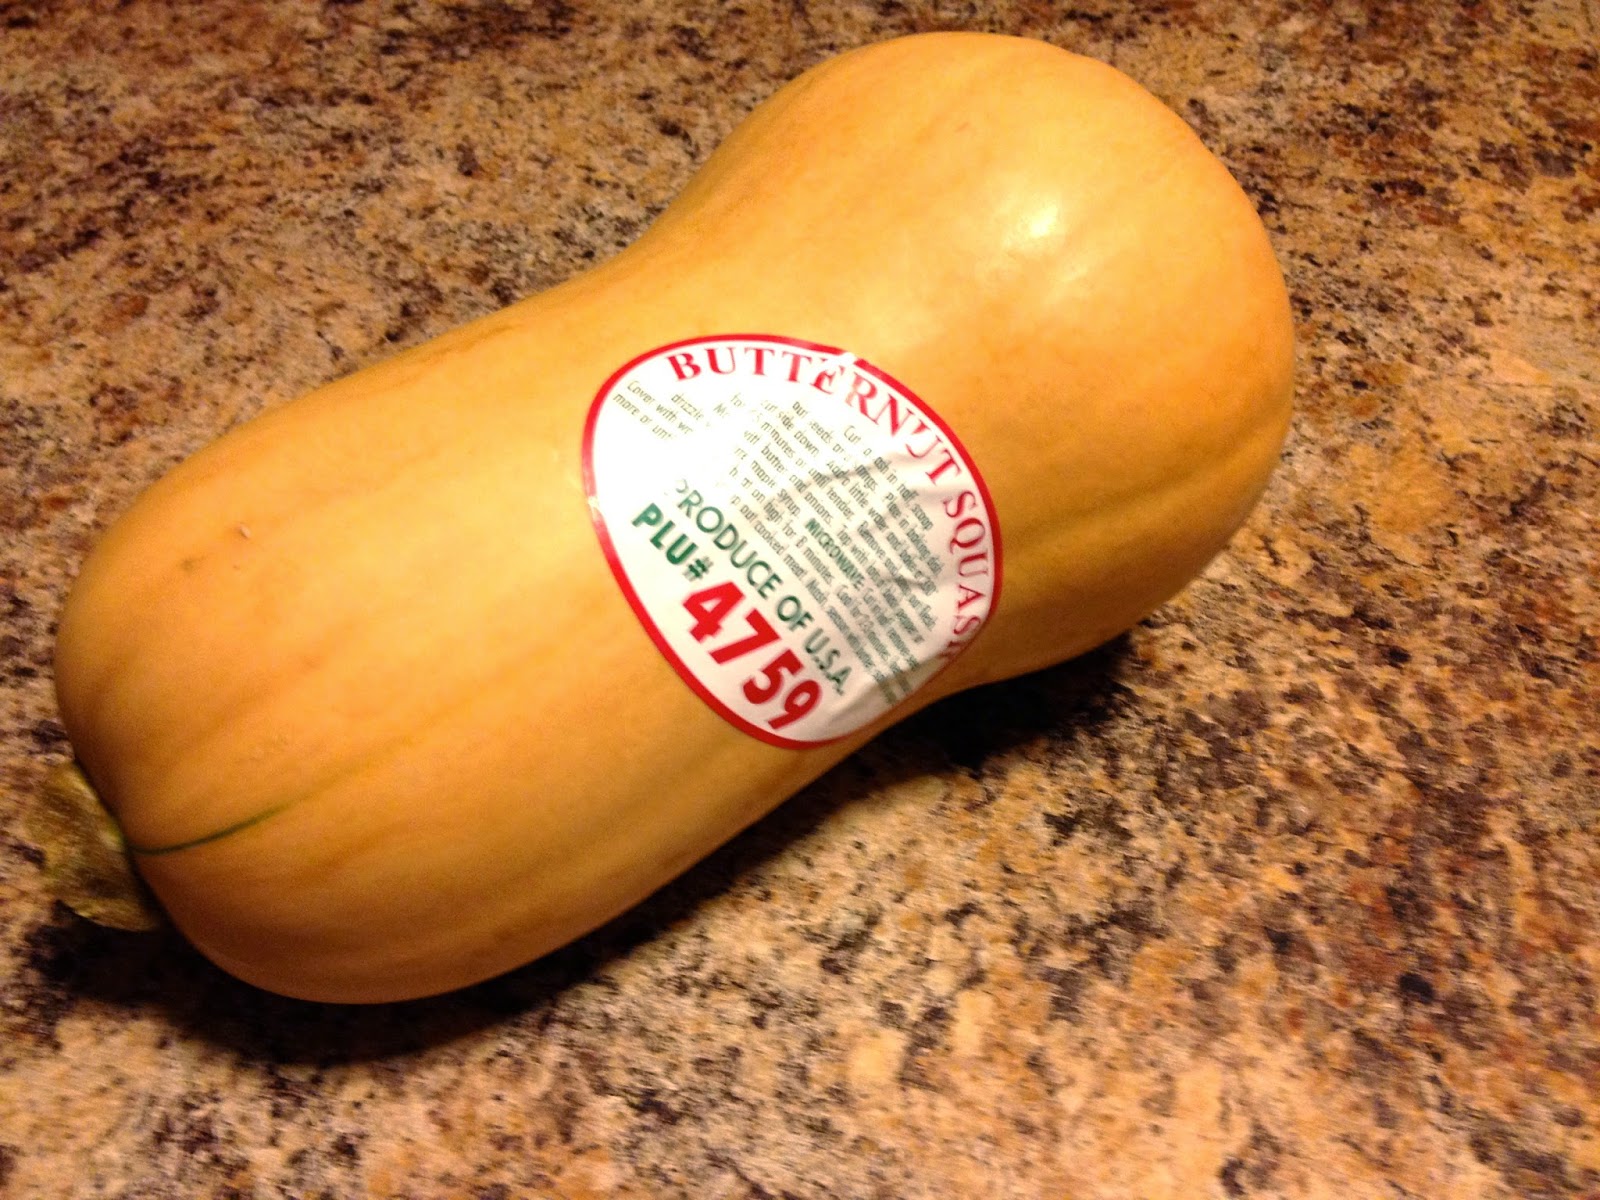
The first recipe I tried is for Butternut Squash. I've seen these pretty produce items in the store but never bought and cooked one, so this was a new experience. And it turned out to be a good soup and easy to prepare. The original recipe was for 2 pounds of squash, the one I purchased was 1 ½ pounds, so I've modified the recipe for that amount. This is also a better quantity for a small family - about 5 servings.


Roasted Butternut Squash Soup

1 ½ pound peeled, cubed (or mashed) butternut squash
2 tablespoons unsalted butter
¼ - ½ cup chopped onion
freshly ground pepper
1 tablespoon minced ginger
2 cups chicken or vegetable broth
1 teaspoon salt

Directions:
The original recipe instructed to peel and cube the squash, then bake with olive oil, salt and pepper for 50 minutes. They must have had more muscle and sharper knife than I had! I found the instructions on the squash itself to work better - cut squash in half, scoop out seeds and lay cut side down in a baking dish. Add a little water and bake in a 350 degree oven for 45 minutes (or until softened). After cooling, scoop out the pulp and mash.
In a large pot, melt butter. Saute onion in butter until translucent. Add minced ginger, roasted squash, and stock. Simmer 20-30 minutes. Blend with a hand blender or food processor until smooth.

I found it easy to cut the squash in half and scoop out seeds.
No need to peel and cube a hard raw squash! 

Bake in a baking pan with a little water.

Scoop out softened pulp of squash. 


Saturday, November 8, 2014

Apple-Butterscotch Brownies

As dessert, warmed in the microwave oven
and topped with whipped topping
and a sprinkle of apple pie spice


There are many favorite fall flavors, apples may be close to pumpkin in popularity at our house. So when I requested a bucket of hedge apples for fall decor, the 'payment' was a batch of cookies.
cookies were payment for
fall decorations gathered
I chose to try this bar cookie recipe, but I'm not sure if it is closer to a brownie, bar cookie or cake. It is very moist and we are storing it in the refrigerator, it's great warmed a bit in the microwave oven.


Apple-Butterscotch Brownies

1 cup chopped pecans
2 cups firmly packed dark brown sugar
1 cup butter, melted
2 large eggs, lightly beaten
2 teaspoons vanilla extract
2 cups all-purpose flour
2 teaspoons baking powder
½ teaspoon salt
3 cups peeled and diced Granny Smith apples

Preparation:
Preheat oven to 350 degrees. Bake pecans in a single layer in a shallow pan 8 to 10 minutes or until toasted and fragrant, stirring halfway through.
Stir together brown sugar, butter, eggs and vanilla extract.
Stir together flour, baking powder, and salt. Add to brown sugar mixture and stir until blended.
Stir in apples and pecans. Pour mixture into a greased and floured 13-x9-inch pan; spread in an even layer.

Bake at 350 degrees for 35 to 45 minutes or until a wooden pick inserted in center comes out clean. Cool completely (about 1 hour). Cut into bars.

Friday, November 7, 2014

Treats for the Seasons

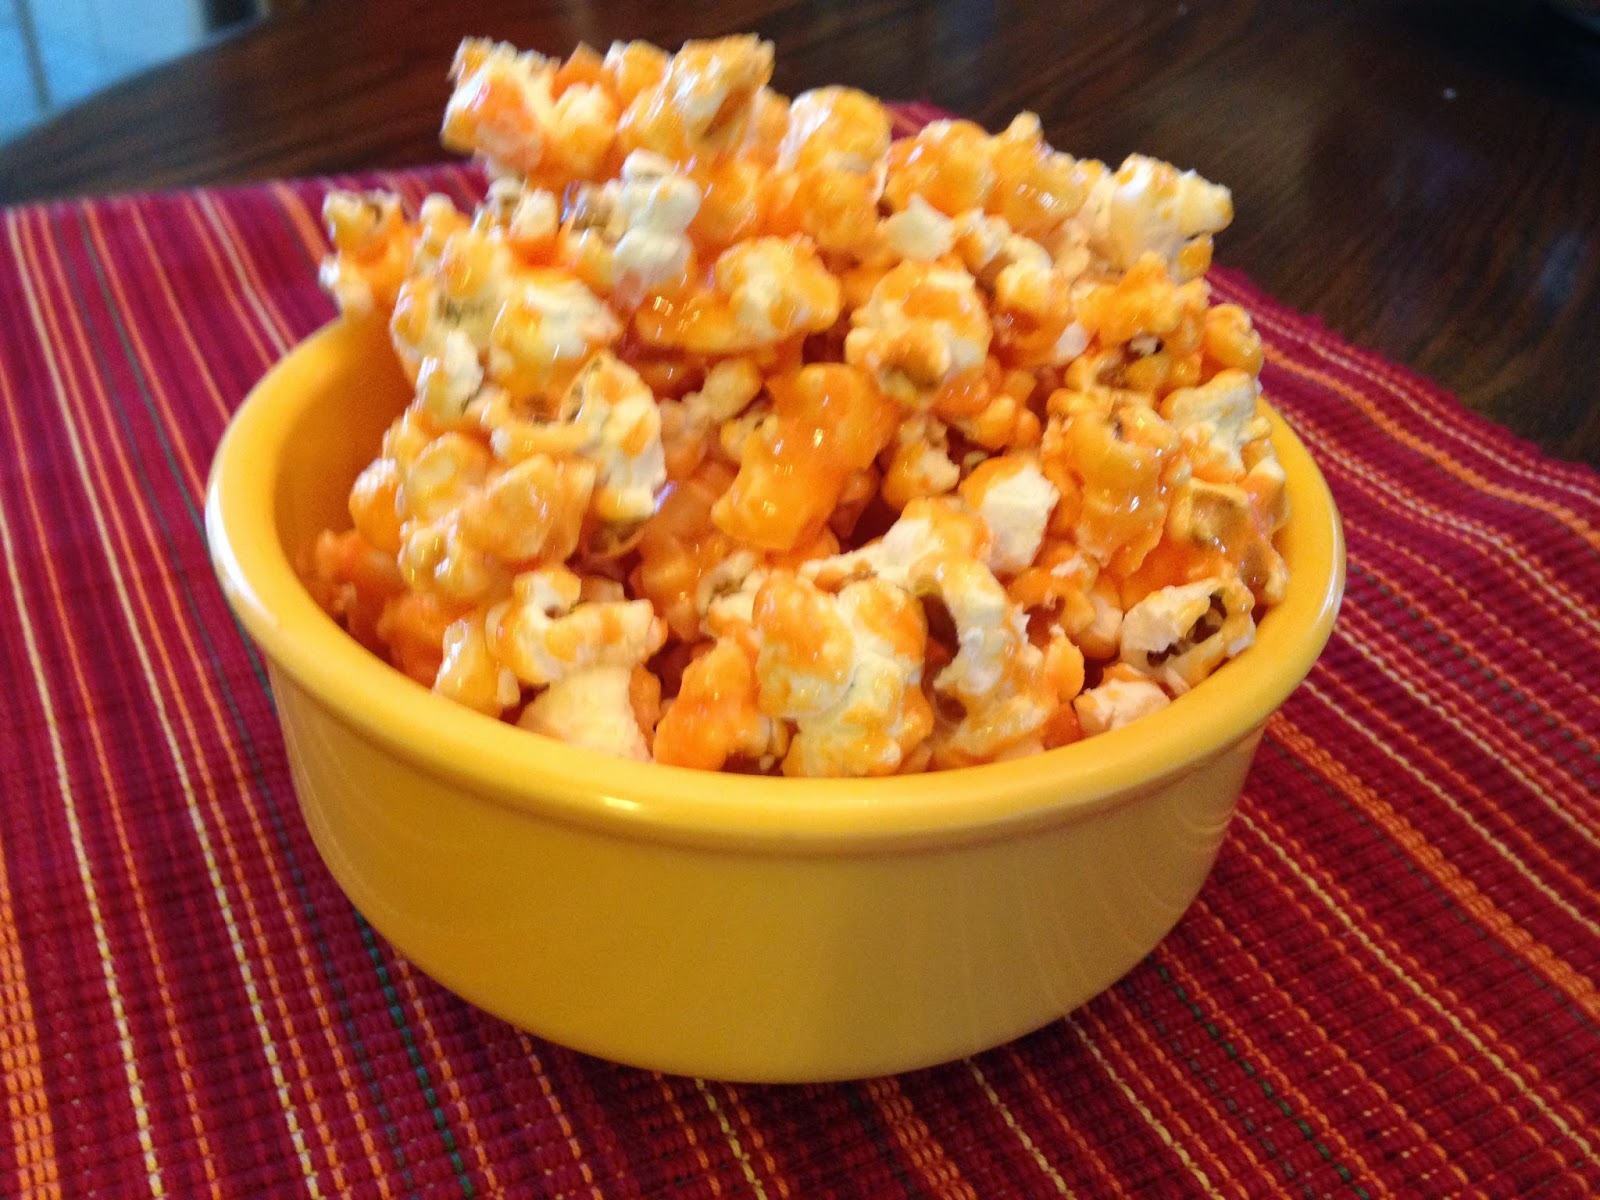
Trick or Treat time was last week, but a couple of treats I made for the special neighborhood goblins would be good food gifts for the upcoming holidays. I often watch people buy the giant bags of purple popcorn at K-State football games and wish I could make that at home. After trying several recipes, one of which turned our lips bright purple, I think this Kool-Aid recipe is one that can be used with many colors and flavors. For Halloween, I used orange Kool-Aid and the color and flavor worked well. I'm anxious to try it with grape/purple.

Kool-Aid Popcorn                                   


3 qt (12 cups) popped corn
1 cup sugar
½ cup light corn syrup
⅓ cup butter
1 envelope (0.13 oz to 0.23 oz) Kool-Aid unsweetened drink mix, any flavor
½ tsp. baking soda

Heat oven to 225 degres. Spread popcorn evenly into the bottom of a large pan (I used the bottom of the broiler pan).
Bring sugar, corn syrup and butter to a boil in medium saucepan on medium-high heat; cook 3 minutes, stirring frequently. Remove from heat. Add drink mix an baking soda; mix well. Pour over popcorn; stir gently to evenly coat popcorn.

Bake 10 minutes. Remove from oven; stir. Repeat 3 times for a total baking time of 40 minutes. Spread onto a large sheet of waxed paper sprayed with cooking spray; cool completely and break into pieces.


Spooky S'mores

Who doesn't love S'mores? They are tasty treats for any season. I made s'more kits for the Halloween visitors, but this idea could be used with any holiday. The new bags of special shaped marshmallows that many stores offer will make this treat special for any holiday.
In a clear gift bag or sandwich bag, place the ingredients of a couple of s'mores. I used:
4 graham cracker sheets
4 mini Hersey bar (or you could use a full sized bar)
a handful of specially shaped marshmallows (I found ghost shaped ones in various colors)
You can print a special gift tag to attach. The reference I found had a link to one that printed "What do ghosts and chocolate have in common? S'more than you know".
When the little goblins visiting saw the marshmallows and started to dive into the bags for them, I send the rest of the original bag home with them to enjoy!


Pumpkin Bread


There aren't enough days to try all the yummy sounding pumpkin recipes in the magazines and Pinterest! I've not only gotten behind on baking, but also on blogging. Hopefully, in the next few weeks leading up to Thanksgiving I'll find many days for kitchen time.
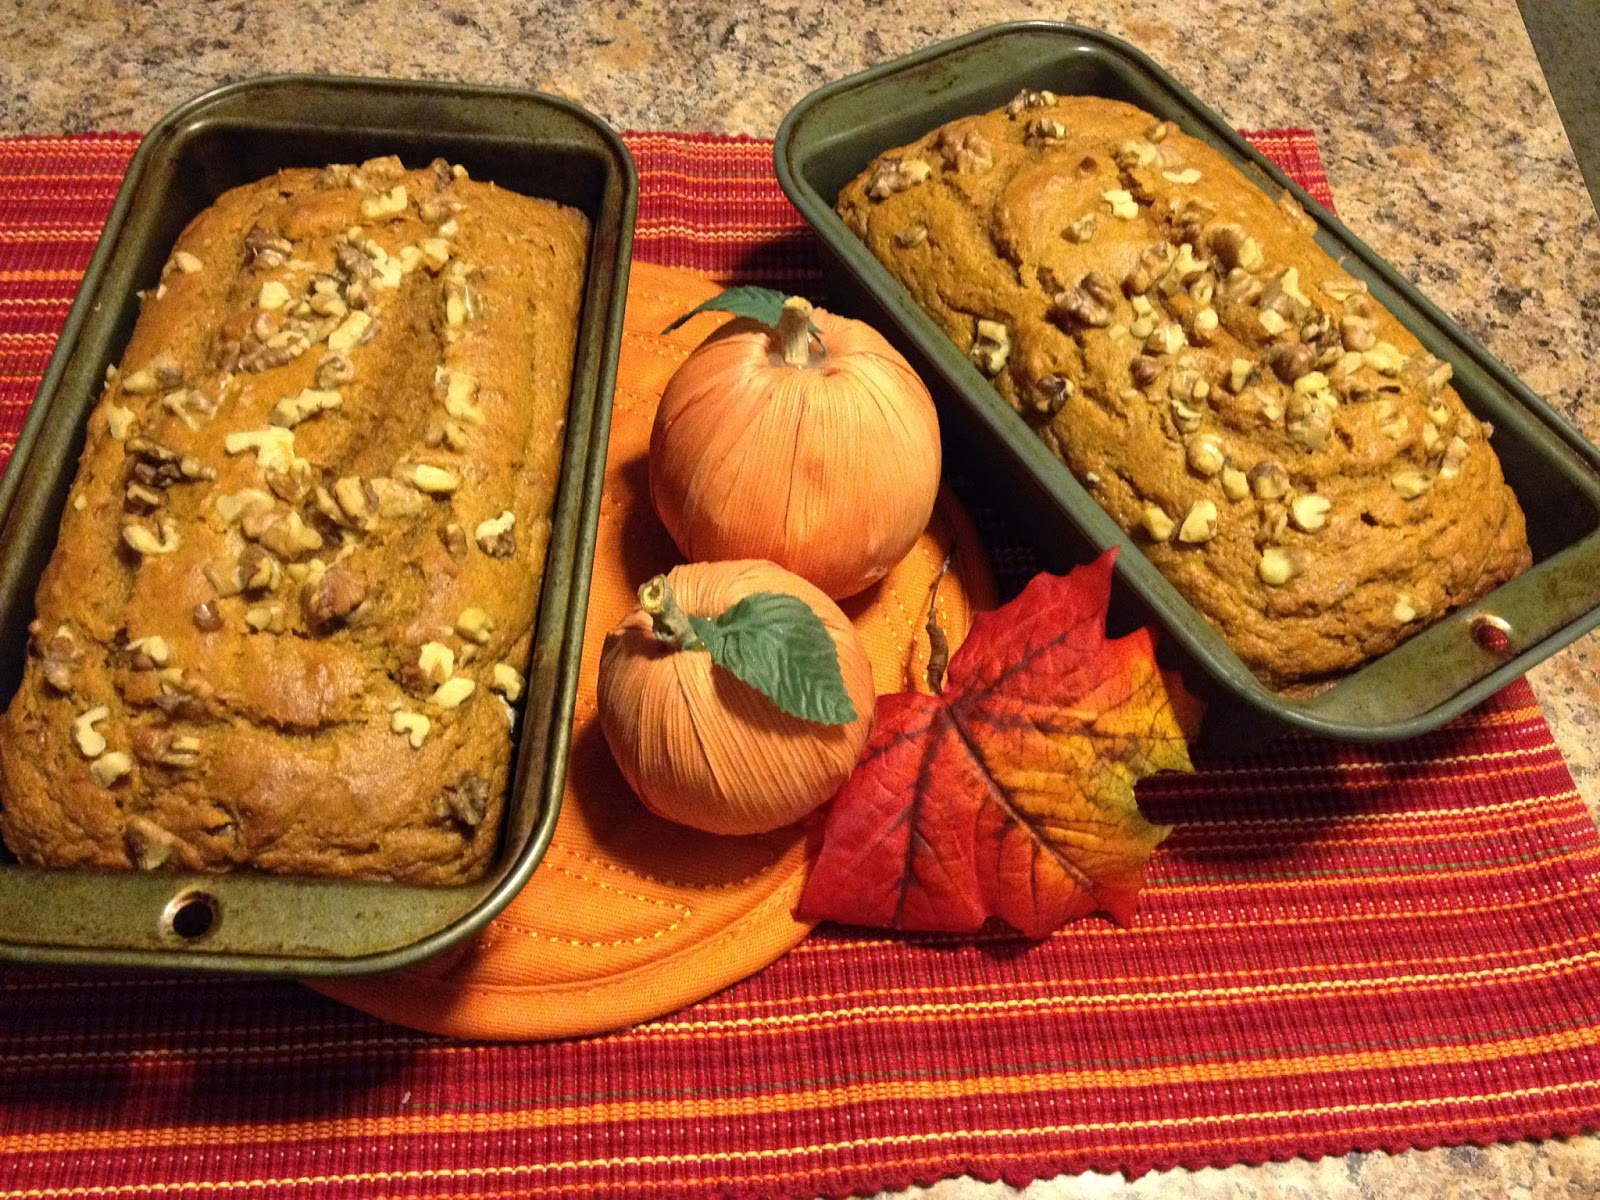
Quick breads are a favorite for us and this recipe is, as the title claims, healthier and very good. To make it as healthy as you can, use the substitutions and instead of chocolate chips, add chopped walnuts. I liked the easy mixing and clean up of this recipe - just 2 bowls, measuring tools, a whisk and spatula to wash.

Health and Delicious Pumpkin Bread


3 cups flour (blended whole wheat/all-purpose) or 2 cups all-purpose and 1 cup whole wheat
2 teaspoons ground cinnamon
½ teaspoon nutmeg
¼ teaspoon ground cloves
1 teaspoon baking soda
1 teaspoon baking power
1 teaspoon salt
½ cup brown sugar
1 ½ cup white sugar (could substitute with Stevia)
6 ounce container vanilla greek yogurt
3 eggs, slightly beaten
15 oz can pumpkin puree
½ cup canola oil (could substitute with apple sauce)
1 teaspoon vanilla extract
1 cup chocolate chips (optional)

Preheat oven to 350 degrees.
Combine flour, cinnamon nutmeg, cloves, salt, baking soda and baking powder in a medium sized bowl.
In a separate mixing bowl, combine both brown and white sugar. Add yogurt, eggs, pumpkin, oil, and vanilla extract and whisk until smooth.
Slowly add dry ingredients to wet and stir until combined. Stir in chocolate chips or nuts. Divide between two 9x5-inch loaf pans (sprayed with non-stick spray) and sprinkle a few extra chocolate chips or nuts on top. Bake about 50 minutes or until lightly browned.