Monday, July 20, 2020

Angel Food Cake - a winner!

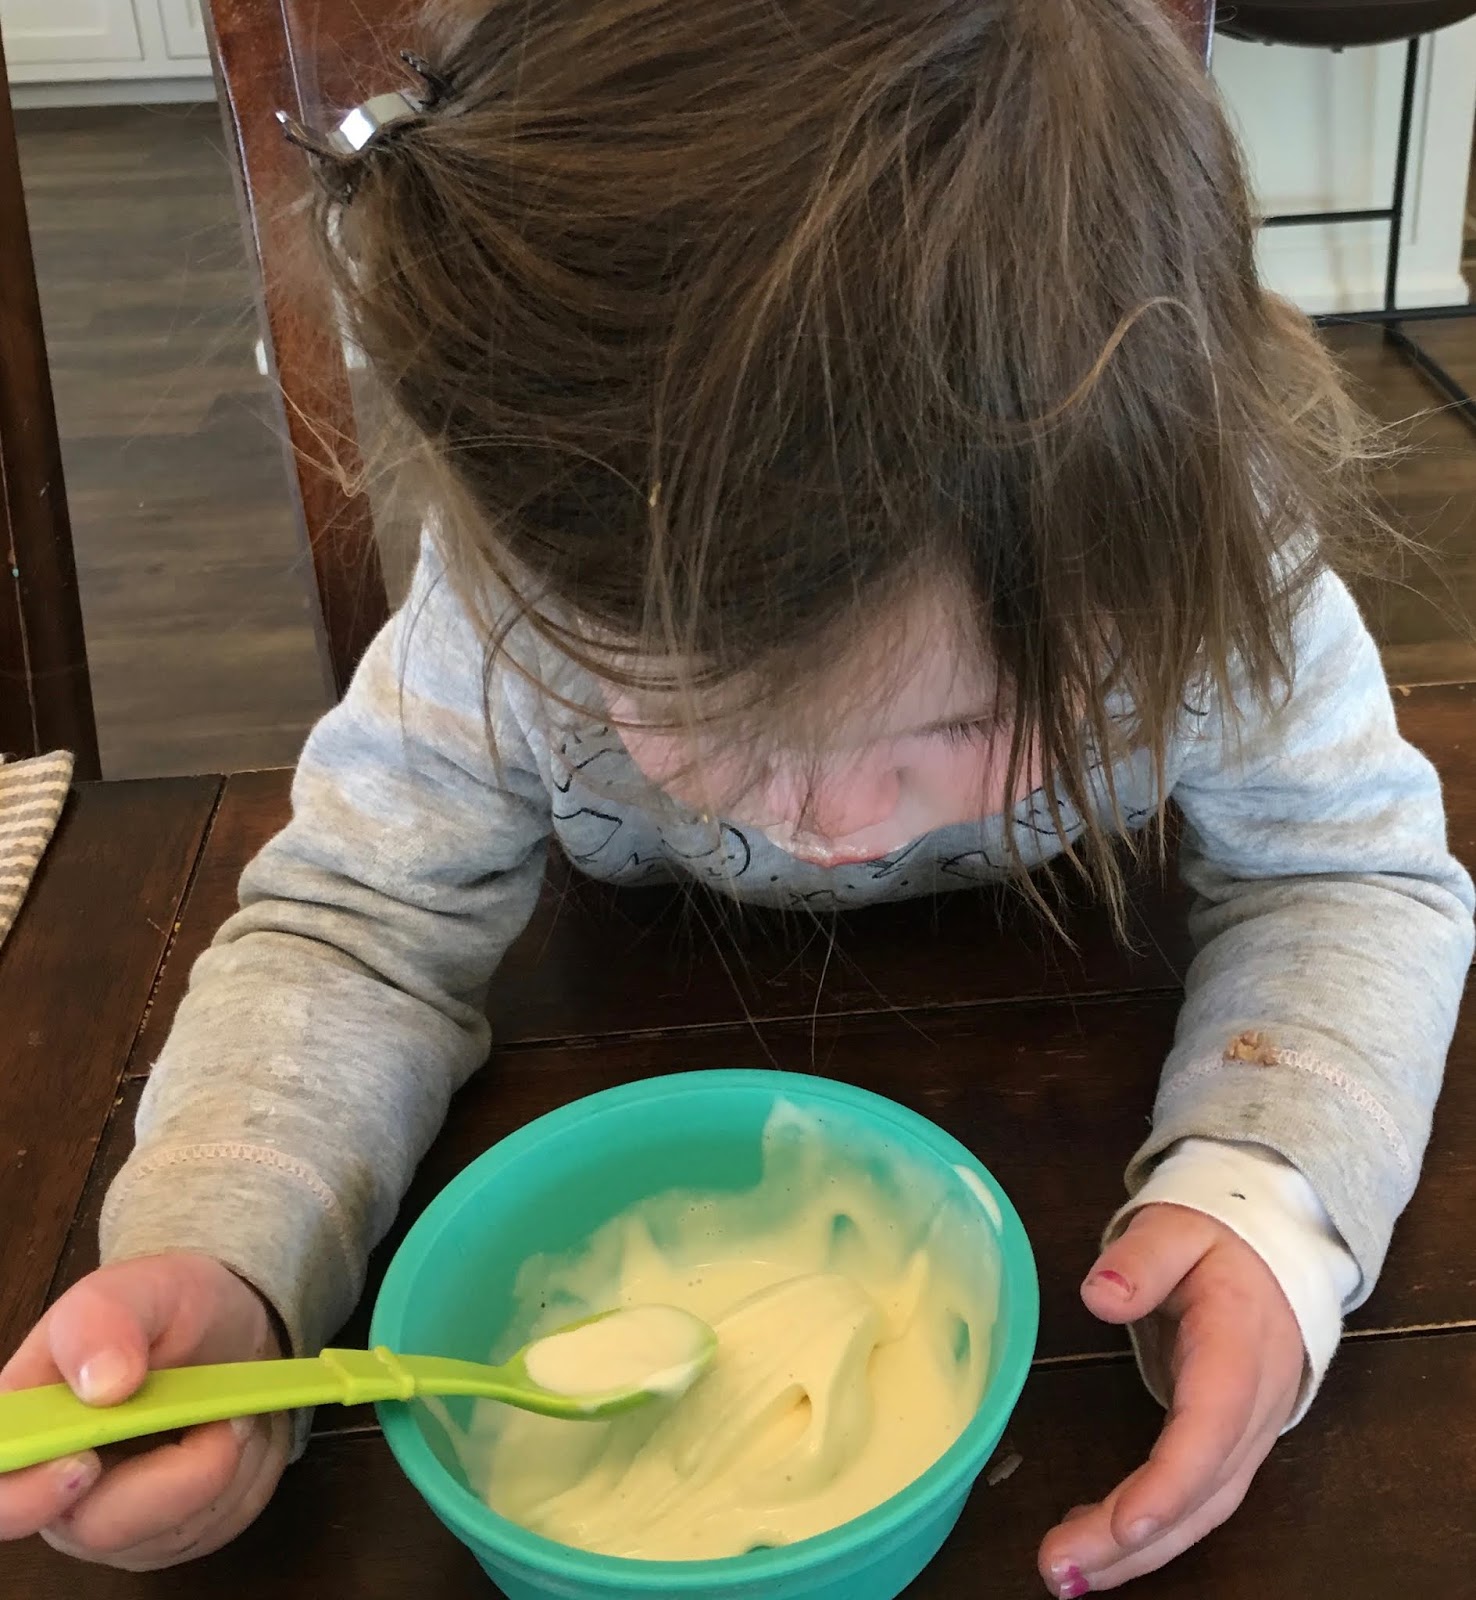
Since we found the greatest homemade ice cream recipe (May 9 blog post), I wondered what to do with all those egg whites left from the ice cream process. My husband, remembering his childhood and mother's cooking, was quick to suggest "Angel Food Cake, of course". My experience with angel food cake was limited - mostly helping my kids try to come up with a fair entry (and a very sticky kitchen) or a box mix. But I remembered a former 4-Her entering a chocolate angel food cake in fairs past and it always won. I didn't have her recipe but a search yielded one from Taste of Home that promised to be a "contest-winner". Although I haven't taken this to a contest, it is a winner at our house! (even when the granddaughter calls it 'fairy cake')


CHOCOLATE ANGEL FOOD CAKE


Ingredients:
1 ½ cups egg whites (about 10 large eggs)
¾ cup cake flour
1 ½ cups plus 2 tablespoons sugar, divided
¼ cup baking cocoa
1 ½ teaspoon cream of tartar
1 ½ teaspoon vanilla extract
¼ teaspoon salt

Directions:
1.    Place egg whites in a large bowl; let stand at room temperature for 30 minutes. Sift the flour, ¾ cup plus 2 tablespoons sugar, and cocoa three times. 
2.    Add cream of tartar, vanilla, and salt to egg whites; beat on medium speed until soft peaks form. Gradually add sugar (3/4 cup), about 2 tablespoons at a time, beating on high until stiff glossy peaks form and sugar is dissolved. Gradually fold in flour mixture, about ½ cup at a time. Mixture will be thick. 
3.    Gently spoon into an ungreased 10-in. tube pan. Cut through the batter with a knife to remove air pockets. Bake on the lowest oven rack at 350 degrees for 40-45 minutes or until lightly browned and entire top appears dry (internal temperature should be 205-209 degrees). Immediately invert pan; cool completely, about 1 hour. 
4.    Run a knife around the side and center tube of pan. Remove take to a serving plate. 


We like it without frosting. But this frosting recipe was with the recipe from Taste of Home. 

CHOCOLATE FLUFF FROSTING
2 cups heavy whipping cream
1 cup sifted confectioners’ sugar
½ cup baking cocoa
Dash salt
            In a large bowl, beat cream until it begins to thicken. Add the sugar, cocoa and salt; beat until stiff peaks form. Frost top and sides of cake. 


Its Summer time - Zucchini time


This is how my family likes zucchini best, in quick breads! So with the abundance I got from our CSA share each week I was scrambling for recipe ideas. I can only serve baked zucchini, cucumber salad, and squash casserole so many times to them. 

     So onto zucchini breads. I tried 3 new recipes this summer - a chocolate that was a favorite until I made the lemon, and a pecan zucchini bread that unfortunately turned out to be a waste of good pecans! In addition to several loaves in the freezer and a few shared loaves, I also froze several packages shredded zucchini pre-measured into 2 cups for future preparations. I like to use a quick bread recipe that makes 2 loaves at a time, so I've adjusted recipes to that yield. 

Here are our favorites (the pecan zucchini bread recipe was tossed, along with the bread!)


CHOCOLATE ZUCCHINI BREAD

(This recipe is from the third Taste of Kansas 4-H cookbook published in the 1990's. It is full of good recipes!)

Ingredients:
3 eggs, beaten
1 cup oil
2 cups sugar
1 Tablespoon vanilla
2 cups zucchini, peeled and shredded
2 ½ cups all-purpose flour
½ cup unsweetened cocoa powder
1 teaspoon salt
1 teaspoon baking soda
1 teaspoon ground cinnamon
¼ teaspoon baking powder

Directions: 
Preheat oven to 350 degrees. Mix beaten eggs, oil, sugar, and vanilla. Stir in zucchini. In another bowl, combine flour, cocoa powder, salt, soda, cinnamon, and baking powder. Add to zucchini mixture and mix well. Pour into two greased 8 ½ x 4 ½ . 2 ½ inch loaf pans. Bake for 1 hour. Let cool. Remove bread from loaf pans and sprinkle with powdered sugar if desired. 

LEMON ZUCCHINI BREAD           

Ingredients:
3 1/3 cups AP flour
4 tsp. baking powder
1 tsp. salt
1 ½ cup granulated sugar
4 Tbs. lemon zest
1 cup canola oil
4 large eggs
½ cup plain Greek yogurt
2 Tbs. fresh lemon juice
2 cup finely shredded zucchini

Lemon glaze: 2/3 cup powdered sugar + 1 ½ tbsp. fresh lemon juice

Instructions:
1.    Preheat oven to 350 degrees. Butter/oil 2 loaf pans (8x4) and lightly dust with flour, shake our excess, set aside. In a medium mixing bowl whisk together flour, baking powder and salt, set aside.
2.    In the bowl of an electric stand mixer fitted with the paddle attachment mix sugar with lemon zest for 30 seconds. Add oil and eggs and mix until combined. Pour in half of the flour mixture then blend just until combined. Add Greek yogurt and lemon juice and mix just until combined, then add in remaining half of the flour mixture and mix just until nearly combined. Remove bowl from stand mixer, add zucchini and fold into mixture using a spatula. Pour mixture into prepared loaf pans. Bake in preheated oven about 45-48 minutes. Let cool in baking pan for a few minutes then invert into a wire rack to cool completely. Once loaves are nearly cool, drizzle with lemon glaze. Store in an airtight container. 


More Summer Veggies - Cukes

Image result for cucumber salad pictureCucumbers: Health Benefits & Nutrition Facts | Live Science
Cucumbers, not something we would choose for a garden produce. But when it came in the CSA package, I was determined to try them in new ways. We've not been fans of cucumbers, but maybe that was because we'd previously just had them sliced raw from a relish plate. I knew I'd had salads from our local restaurant's salad bar that I liked. 
     And we were pleasantly surprised! Not only are cucumbers healthy foods, but these salads are quite tasty. Research shows 7 health benefits of eating cucumbers:
* high in nutrients, low in calories but high in many important vitamins and minerals
* Contain antioxidants
* Promotes hydration
* May aid in weigh loss
* May lower blood sugar
* Could promote regularity
* easy to add to the diet

My favorite of these two recipes is the marinated one, but they are both good and make easy salads that can extend over a few days' meals. 

MARINATED CUCUMBER, TOMATO, ONION SALAD

3 medium cucumbers, peeled and sliced
1 medium onion, sliced into rings
3 tomatoes, cut into wedges
½ cup vinegar
¼ cup sugar
1 cup water
2 tsp. salt
1 tsp. coarsely ground pepper
¼ cup oil

Whisk dressing ingredients together. Pour over prepared vegetables. Refrigerate for 2 hours or more. 
Could add feta cheese just before serving. 

CREAMY CUCUMBER SALAD

½ cup sour cream or ranch dressing or Greek yogurt or a combo
1 T. white vinegar
1 T. minced fresh dill (or 1 tsp. dried)
1 tsp. sugar
½ tsp. salt
¼ tsp. garlic powder

3 cups thinly sliced peeled cucumbers
Opt: add thinly sliced onion and/or chopped tomatoes


Sunday, June 21, 2020

Rhubarb Crisp for Summer Dessert


Summer is time for fruit, flowers and favorite foods. I just learned that one of our favorite foods isn't a fruit like I thought, but a vegetable! I thought the tomato was the sole claim of that confusion. I used to tell the kids in the nutrition classes I taught that if we were talking horticulture it was a fruit, and if we were talking food it was a vegetable. Rhubarb is just the opposite, a vegetable that is mostly eaten as a fruit in pies, cobblers, and often paired with strawberries. Maybe it's tartness and need for lots of sugar is what pushes it into the fruit dessert category. 
Rhubarb stalks look like red celery with large leaves. Just remember the leaves are poisonous, so only harvest the stalks. A friend gave me about 20 stalks recently, just right for rhubarb cobbler. Here's my favorite recipe that could use fresh or frozen rhubarb. 


RHUBARB CRISP

Ingredients:
6 cups rhubarb (can add blueberries to make it to 6 cups)
3 tablespoons flour
2/3 cup sugar
½ teaspoon cinnamon
Topping: 
¾ cup rolled oats
¾ cup brown sugar, packed
6 tablespoons flour
½ teaspoon cinnamon
6 tablespoons butter

Instructions: 
1.    Preheat oven to 375 degrees. 
2.    Wash and rinse rhubarb and cut into 1/2” pieces.
3.    Toss rhubarb with flour, sugar, and cinnamon. Place in a 2qt. baking dish. 
4.    In a separate bowl, combine topping ingredients with a fork or pastry blender. Sprinkle over rhubarb mixture. 
5.    Bake for 35 minutes or until rhubarb is tender and topping is golden. 
6.    Cool 5-10 minutes before serving. Top with ice cream, cream, or vanilla yogurt. 

chopped rhubarb and blueberries with sugar, flour,
 and cinnamon. Ready for topping. 

With topping, ready for baking. 


Sunday, June 7, 2020

The Not-So-Common Cabbage

This is one week's half-share of the local CSA.
One head of red cabbage and one of green. 

Cabbage - not a fancy veggie. Something I buy cabbage a few times in the winter when lettuce isn't very good (or too expensive) for salads. Cabbage makes good coleslaw. Anything else? Well, when our weekly selection of produce from our CSA (Community Supported Agriculture) included cabbage for a few weeks, I needed new ideas!

A search came up with a couple that seemed suited for summer meals. And with a thought to next winter I also froze some for soups. Besides coleslaw, I do like cabbage in vegetable soup. Freezing cabbage doesn't sound like it would be too successful since it does have a high water content and freezing would make the cell walls break down resulting in a limp, not crisp, product. But for soup it is cooked to a tender and limp state, so freezing seems like a possibility. I cut the cabbage into small wedges, leaving a bit of the core in each to hold it together. Then blanched the wedges in boiling water for 90 seconds followed by 90 seconds in ice water. After draining the wedges I packed them into a freezer plastic bag for the freezer. We'll look forward to that addition to hardy soups next winter.

The new recipes I tried that we liked were Baked Cabbage and Cabbage Rolls. Baked Cabbage sounded unusual and strange - but surprisingly it is very good. I changed both recipes to shorter baking times, I found with really fresh and tender vegetables the baking time can be reduced. Cooking with veggies is more of an art of what works and what you like, not like the science of baking where careful measurements and times are more critical. So sometimes I take the recipe as a 'suggestion'.

Cabbage wedges ready to be baked.

Baked Cabbage: Cut into wedges and put on an oiled roasting pan. Drizzle with olive oil (I use a basting brush to spread the oil in the bottom of the pan then over the top of the cabbage). Sprinkle with salt and pepper and brush with olive oil. Lay cut bacon pieces (uncooked) on top of the cabbage. Drizzle with a little melted butter. Roast at 450 degrees, covered with foil for 15-20 minutes. Uncover and roast until the cabbage is golden brown and tender. The original recipe instructed a total of 60 minutes of roasting time. With fresh cabbage, ours was tender and even crunchy at the edges in about 30 minutes. You won't believe how good this is! (Could be the olive oil, bacon, and butter!)

Baked - crispy and a little too brown! 


Cabbage rolls ready for baking
Stuffed Cabbage Rolls

I adapted a recipe from thekitchenwhisperer.net to make a smaller amount and shortened the baking time.
Cabbage leaves - I pulled large leaves off the outside and cooked 10. You could cook the whole head (remove core first). Cook in boiling water for 3 minutes until leaves are softened. Cut away the thick center stem from each leaf without cutting all the way through.
Meat mixture - this is basically a meat loaf mixture.
       1 ½ pound ground beef (or 1 pound ground beef + ½ pound ground pork)
       1 medium onion, chopped fine, or 1 Tablespoon minced dried onion
       3 tsp. minced garlic
        1 tsp. kosher salt
       ¾ tsp. ground black pepper
        1 tsp. parsley flakes
        1 large egg
        ¼ cup ketchup
         about ⅓ can tomato soup (use the rest of the can to pour over the rolls)
Mix all ingredients together.
To assemble cabbage rolls: Lay a leaf down with the cut edge facing you (where the stem was) and place about ½ cup meat mixture in the middle. Fold the edges over the meat and roll the cabbage up like a burrito. Repeat until all the leaves are stuffed. If you have extra meat just roll it up as meatballs and place it in the baking pan with the stuffed cabbage. Pour the rest of the can of tomato soup over the cabbage rolls.
Bake covered for about 1 hour, until the internal temperature of the cabbage roll/meat is 165 degrees and the cabbage is tender.
Eating local - roasted carrots, beets, and potatoes from CSA,
tossed salad with radishes from CSA, cabbage rolls - cabbage
from CSA and beef from our ranch. 

I even found a quote about cabbage I like. From Mark Twain, "Training is everything. The peach was once a bitter almond; cauliflower is nothing but cabbage with a college education." Humble as the cabbage may be, it can be tasty in a variety of ways.


Saturday, May 9, 2020

Ice Cream Comfort

During this stay at home time we're all looking for comfort foods. At our house a favorite is homemade ice cream. We started the stretch of many home meals with a birthday dinner the second week of March including home made ice cream. Last week we celebrated it being another week and we needed something special. Don't we all feel like that sometime?
The first batch of ice cream was made in a traditional home (White Mountain) ice cream freezer that my daughter and son-in-law received for a wedding gift. So they were in charge of the ice and churning. The second batch took a different turn when the local convenience store didn't have ice. It 'aged' a day in my refrigerator while my the cylinder for my tabletop ice cream maker froze in the freezer. I've had this electric ice cream maker several years and often use it for smaller batches. It uses about 3 cups of ice cream mix, compared to the traditional freezer which uses about 6 cups. Just when I though this recipe couldn't be improved I tried strawberry. To use the remaining half-and-half and whipping cream, I added strawberry soda pop to equal 3 cups and while mixing put in about 1 cup chopped frozen strawberries. The Best!

I've experimented and read with various tips, and here's what I've found:
* This recipe below is the absolute best one I've come across! And we have lots of eggs so are well supplied for making it. ( a future blog on using egg whites!) The farm fresh eggs we have never get 'pale in color' as there recipe calls for, but give an off white tint to the vanilla ice cream.
* "Aging" the mix in the refrigerator for 24 hours develops the flavor.
* You can serve it 'soft serve' style just out of the ice cream freezer, or put it in a container to freeze solid in your freezer. Our family likes it soft serve, but many like the flavor that develops from a hard freeze.
* Using vanilla paste is a taste changer! It is a concentrated vanilla extract with the consistency of maple syrup or liquid glue. It gives a bright bold vanilla flavor that is delicious. One tablespoon equals one vanilla bean (which the recipe originally called for).
* Tempering the egg yolks is important, pour a bit of the heated half-and-half mixture into the egg yolks, whisking as you pour. This warms the egg yolks gradually so they can be poured into the hot mixture without cooking into lumps.
The Birthday Boy enjoys this part of
homemade ice cream best. 
From the oldest to the youngest, we all
enjoy ice cream! 


ICE CREAM – VANILLA BEAN ICE CREAM

Ingredients:
1 whole vanilla bean, split and scraped (1 Tbs. vanilla paste)
3 cups Half-and-Half
2 cups sugar
8 whole (up to 9) Large egg yolks
3 cups heavy cream

Directions:
Heat half-and-half and 2 cups sugar I a saucepan over low heat, adding vanilla to the mixture. Turn off heat when mixture is totally heated. 
Beat egg yolks by hand or with an electric mixer until yolks are pale yellow and slightly thick. Temper the egg yolks by slowly drizzling some of the half-and-half mixture unto them, whisking constantly. After that, pour the egg yolk/half-and-half mixture back into the pan contain the rest of the half-and-half/sugar mixture. Cook over low to medium-low heat until quite thick, stirring constantly. Drain custard (if you used a vanilla bean) using a fine mesh strainer. Pour into a bowl with the heavy cream. Stir to combine. 
Chill mixture completely, then freeze in an ice cream maker until thick. Place container in freezer to harden for at least eight hours.